
Are you noticing that the plastic surfaces inside your car are losing their luster? Daily life – from pet hair and food crumbs to dust and general grime – can quickly accumulate on your car’s interior plastic, turning what was once a fresh, clean space into something less appealing and potentially unhygienic.
If you’re wondering what the best tool is to clean your car’s interior plastic, you’ve come to the right place. This detailed guide will walk you through everything you need to know, helping you bring your car’s interior back to its showroom shine. We’ll cover the essential tools and materials, step-by-step cleaning methods, and expert advice for handling different types of plastic and stubborn stains.
Basics of Cleaning Car Interior Plastic
Remember, consistent cleaning is key to not only keeping your car’s plastic interior looking its best but also extending its lifespan. By taking a few simple precautions and using these basic techniques, you can maintain a clean, comfortable, and healthy environment inside your vehicle.
General Techniques:
- Begin with Vacuuming: Before applying any liquids, always start by vacuuming the plastic surfaces. This removes loose dirt, debris, and pet hair, making the subsequent cleaning steps much more effective. Consider using a car vacuum cleaner for optimal reach and power.
- Mild Soap and Water Solution: For most car interior plastics, a gentle solution of mild soap and lukewarm water is sufficient. Mix a few drops of mild dish soap with water in a spray bottle and shake gently to combine.
- Use a Soft Cloth or Sponge: Always use a soft cloth or sponge to clean plastic surfaces. Microfiber cloths are ideal as they are gentle and effective. Avoid abrasive materials that can scratch or damage the plastic.
- Gentle Circular Motions: When cleaning, use gentle, circular motions to lift dirt and grime. This technique ensures even cleaning and minimizes streaks.
- Rinse and Dry Thoroughly: If you’ve used a soap solution, wipe down the plastic with a clean cloth dampened with plain water to remove any soap residue. Immediately follow up by drying the surface completely with a clean, soft microfiber cloth.
Precautions:
- Always Test in an Inconspicuous Area: Before applying any cleaning solution or product to a large area, test it on a small, hidden spot first. This ensures that the product doesn’t cause discoloration or damage to the plastic.
- Avoid Harsh Chemicals: Stay away from harsh chemicals like bleach, ammonia, or strong solvents. These can degrade and discolor car interior plastics. Opt for cleaners specifically formulated for car interiors.
- Be Careful Around Electronics: Exercise extra caution when cleaning around electronic controls, buttons, and displays. Prevent liquids from seeping into these sensitive areas.
- Apply UV Protection: After cleaning, consider applying a UV protectant product to the plastic surfaces. This helps prevent fading, cracking, and discoloration caused by sun exposure.
- Ensure Good Ventilation: When using any cleaning agents, it’s wise to keep your car windows open for proper ventilation. This will help disperse any fumes and allow the surfaces to dry more quickly.
Essential Tools and Materials for Cleaning Car’s Interior Plastic
Cleaning your car’s plastic interior effectively and safely requires having the right tools at your disposal. Here’s a list of essential tools and materials that will make the job easier and deliver the best results:
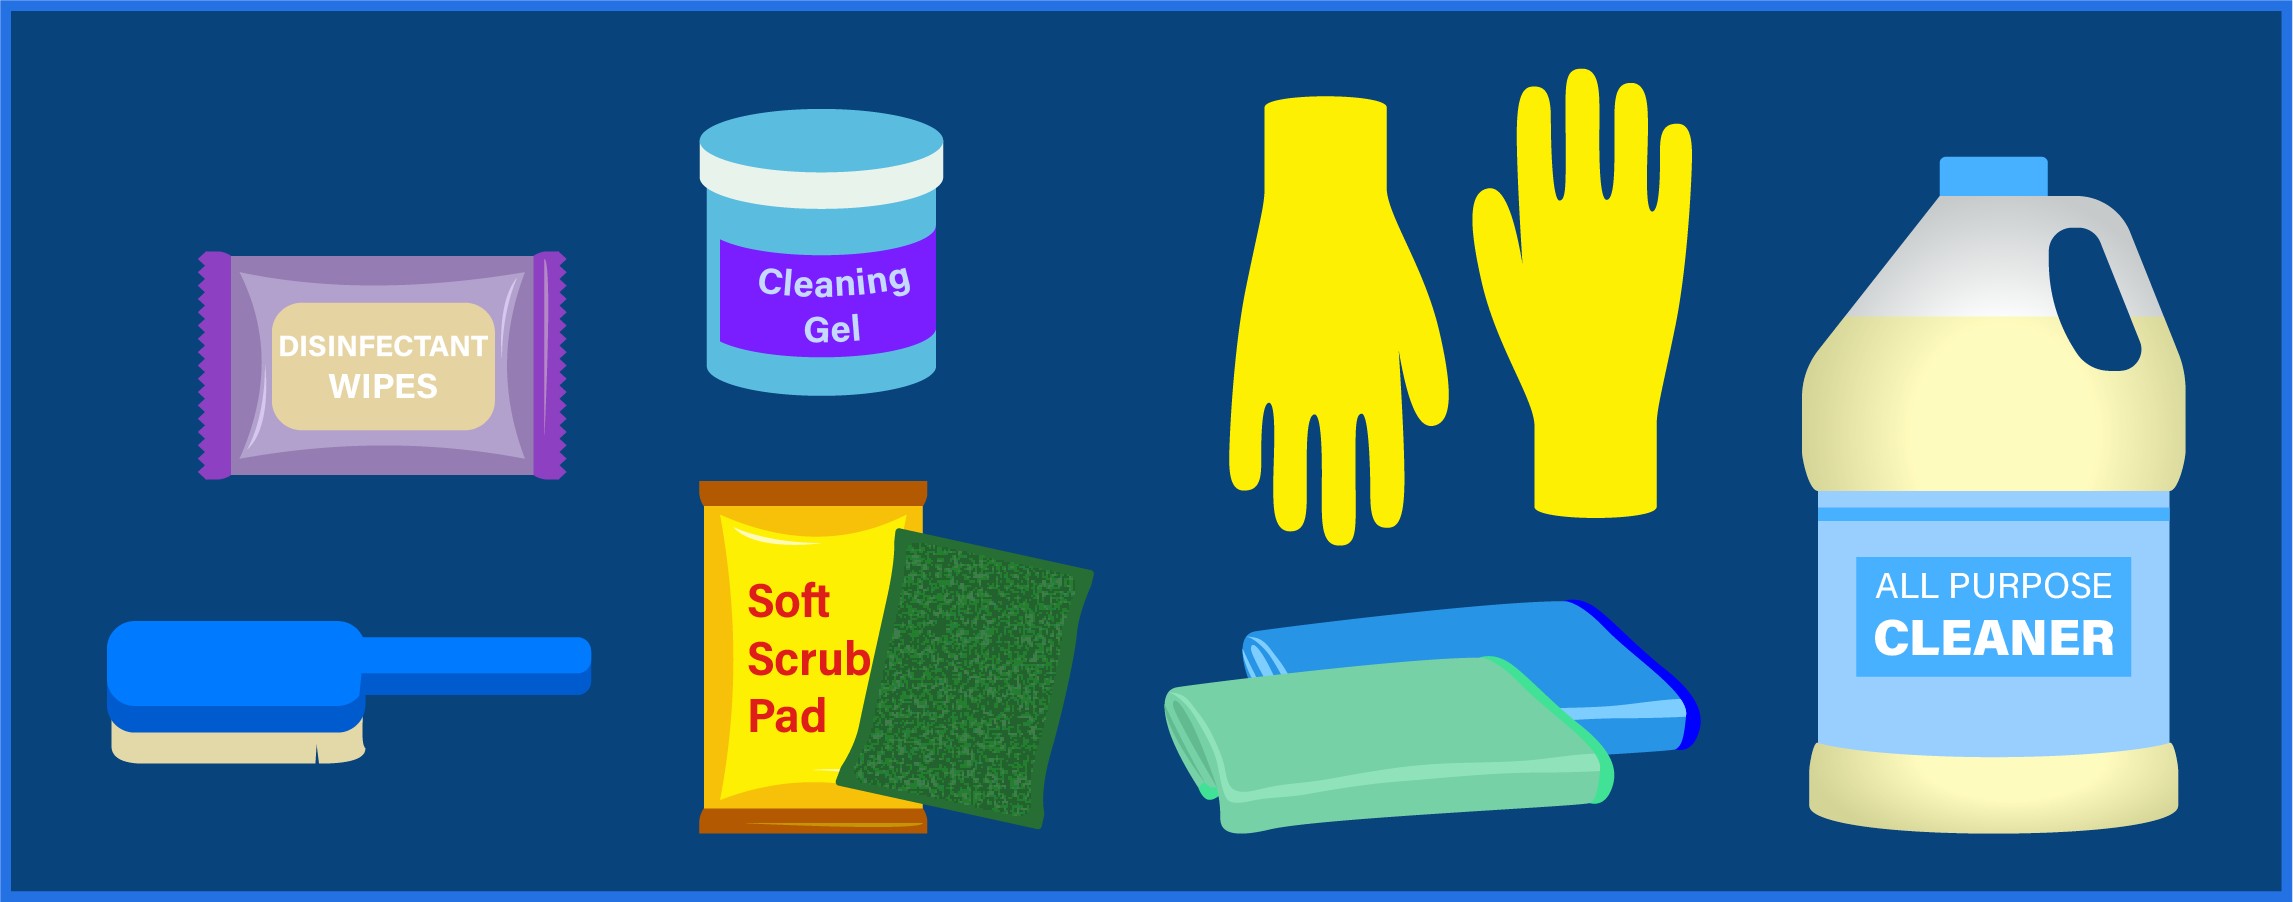
- All-Purpose Interior Cleaner: Resist the urge to use household cleaners, especially those with bleach or harsh chemicals. Instead, choose a high-quality, all-purpose cleaner specifically designed for car interiors. These cleaners are formulated to be gentle on plastics yet effective at removing dirt, grime, and stains.
- Microfiber Cloths: The type of cloth you use is just as important as the cleaner. Microfiber cloths are the ideal choice for cleaning car interior plastic due to their softness and lint-free nature. They effectively lift dirt and leave a streak-free finish. Avoid using paper towels, which can be abrasive and leave behind paper residue.
- Disinfectant Wipes (Bleach-Free): Maintaining hygiene inside your car is crucial. Keep bleach-free disinfectant wipes handy to quickly sanitize plastic surfaces, especially high-touch areas like the steering wheel and door handles. Ensure they are bleach-free to prevent damage to the plastic.
- Soft Scrub Pad or Sponge: For tackling tougher stains or stuck-on grime, a soft scrub pad or sponge can be helpful. Use it gently to avoid scratching the plastic surface. Test in an inconspicuous area first to ensure compatibility.
- Fine Bristle Brush (Detail Brush): For cleaning intricate areas, crevices, and textured plastic, a fine bristle brush, often called a detail brush, is invaluable. It allows you to reach into tight spaces and gently loosen dirt without scratching.
- Plastic Gloves: Protect your skin by wearing plastic gloves during the cleaning process. Car interior cleaners, even mild ones, can sometimes irritate sensitive skin. Gloves also prevent transferring oils and dirt from your hands back onto the freshly cleaned surfaces.
- Cleaning Gel for Vents and Crevices: Areas like air vents and intricate trim pieces can be difficult to clean with cloths or brushes. Cleaning gel is perfect for these hard-to-reach spots. Its pliable texture allows it to mold into tight spaces, lifting dust and debris effectively.
Step-by-Step Guide to Cleaning Car Plastic Interior
Pre-Cleaning Preparations
Before diving into cleaning specific areas or tackling stubborn stains, starting with basic preparation is essential. This sets the stage for more effective and efficient cleaning.
Begin by decluttering your car’s interior. Remove all personal items from cup holders, consoles, door pockets, and dashboards. This provides a clear workspace and prevents accidentally damaging or misplacing your belongings during the cleaning process.
Next, dust all plastic surfaces with a microfiber cloth. This simple step removes the initial layer of loose dust and dirt, especially important for areas around sensitive electronics and screens. Follow dusting with a thorough vacuuming session. Use a car vacuum or vacuum cleaner attachments to remove larger debris, paying close attention to crevices, seams, and hard-to-reach areas.
When it comes to cleaning solutions, always choose a high-quality, all-purpose cleaner specifically formulated for car interiors. These cleaners are designed to be gentle on plastics while effectively removing common car grime. Spray your chosen cleaner onto a microfiber cloth – never directly onto the plastic surface, especially near electronics. Gently wipe down all plastic surfaces with the dampened cloth. Microfiber cloths are ideal because they are soft enough to prevent scratches on plastic and ensure a streak-free, residue-free finish. This careful approach not only enhances the appearance of your car’s interior but also helps preserve its longevity.
Once you’ve prepared your cleaning tools and car, you can proceed with cleaning specific plastic areas:
-
Steering Wheel:
- Put on plastic gloves to prevent transferring dirt or oils from your hands onto the steering wheel.
- Spray a small amount of all-purpose cleaner onto a microfiber towel or a soft scrub brush.
- Gently clean the steering wheel surfaces, paying extra attention to areas where your hands frequently grip.
- If your steering wheel has electronic controls, be extra careful and avoid spraying cleaner directly onto the steering wheel.
- Dry the steering wheel thoroughly with a clean, soft cloth.
-
Dashboard:
- Begin by dusting the dashboard with a duster or microfiber cloth to remove loose debris.
- Lightly dampen a microfiber cloth with all-purpose cleaner.
- Gently wipe down all plastic dashboard surfaces, being cautious around screens and electronic components. Work gently around any electronic elements.
- Dry the dashboard with a separate clean, soft cloth.
-
Cup Holders:
- If possible, remove cup holders from the car for easier cleaning and bring them inside to your sink.
- Prepare a cleaning solution of mild dish soap and warm water, or use your all-purpose cleaner diluted with warm water.
- Dampen a microfiber cloth or sponge with your cleaning solution.
- Gently scrub the cup holders, paying special attention to corners and crevices where spills and grime accumulate.
- Rinse the cup holders thoroughly with clean water, wipe them dry with a clean cloth, and ensure they are completely dry before placing them back in your vehicle.
-
Center Console:
- Remove all items and trash from the center console.
- Use a vacuum cleaner to remove any loose dust, crumbs, and debris.
- Clean the console with disinfectant wipes first, then follow up with all-purpose cleaner on a microfiber cloth for a deeper clean.
- For corners and crevices, use a more precise tool like a toothbrush or fine bristle brush to remove dirt.
- Dry the center console completely before returning any items to it.
-
Plastic Trim:
- Prepare all plastic trim surfaces by dusting with a duster or microfiber cloth and vacuuming loose debris.
- Wipe down the trim with disinfectant wipes, followed by all-purpose cleaner applied to a soft cloth.
- Dry all plastic trim surfaces with a clean, dry cloth.
-
Air Vents:
- Open air vents fully to maximize access for cleaning.
- Use a duster to remove surface debris from the vents.
- Wipe down the accessible parts of the vents with disinfectant wipes.
- Use car cleaning gel or a Q-Tip to reach deeper into the vent openings and remove dust and grime. Be gentle with the plastic vent parts and avoid applying too much pressure.
-
Door Panels:
- Prepare door panels by dusting and cleaning with disinfectant wipes.
- Apply all-purpose cleaner to a cloth and wipe down all plastic door panel surfaces, being careful to avoid excess moisture around electronic components like door lock and window controls.
- Dry door panels thoroughly with a soft, clean cloth.
Tackling Stubborn Stains and Spills
No matter how careful you are, stubborn stains and spills are bound to happen in your car. Here’s how to handle some of the most common culprits on your car’s plastic interior:
- Food and Drink Stains: The key to dealing with food and drink spills is to act quickly. Immediately blot the spill with a clean paper towel or cloth to absorb as much as possible. Keep paper towels or cloths in your car for this purpose. Once you’ve blotted the excess, gently scrub the stain with all-purpose cleaner on a clean cloth. For dried, tough stains, create a paste of baking soda and water and apply it to the stain. Let it sit for a few minutes to loosen the stain before wiping it away and cleaning with all-purpose cleaner.
- Grease and Oil Stains: Grease and oil stains require careful handling. Using the wrong degreaser can permanently damage plastic. To avoid damage, always test your cleaner in a hidden area first. Apply a small amount of all-purpose cleaner to a cloth and gently work from the outside of the stain inwards to prevent spreading it. Repeat as needed until the stain is removed, then wipe clean with a fresh, soft cloth.
- Ink Stains: If a pen leaks or breaks in your car, ink stains can be a concern. Act as quickly as possible. Blot up any wet ink before it dries. Then, apply a small amount of isopropyl alcohol to a cloth and gently dab at the ink stain until it begins to transfer to the cloth. Follow up by cleaning the area with all-purpose cleaner and gently scrub if necessary.
- Sticky Stains (Gum, Glue): Remove sticky substances like gum or glue as soon as possible before they fully dry and harden. If the substance has dried, gently soften it with a hairdryer on a low setting for a few seconds. Then, carefully peel or scrape off as much as you can. Use a fine bristle brush and all-purpose cleaner to gently scrub away any remaining residue. Wipe the area with a cloth dampened with water and dry thoroughly.
- Blood Stains: When dealing with blood stains, always wear gloves for personal protection. Act fast and blot up as much blood as possible with a rag dampened with cold water. Cold water helps prevent the stain from setting. Follow up by gently scrubbing the stain with all-purpose cleaner and a soft cloth. Allow the area to dry completely. For persistent blood stains, a specialized stain remover for interiors might be necessary.
Avoiding Common Cleaning Mistakes
When cleaning your car’s plastic interior, it’s easy to make mistakes that can cause damage or extra work. Here are some common cleaning mistakes to avoid:
- Incorrect Product Selection: Choosing the wrong cleaning product is a primary mistake. Avoid household cleaners containing harsh chemicals like ammonia, bleach, or strong solvents. These can damage, discolor, or dry out plastic and harm electronic components. Always use cleaners specifically designed for car interiors and check product labels carefully.
- Over-Aggressive Scrubbing: While it’s tempting to scrub hard at tough stains, excessive force can scratch and mar plastic surfaces. For wet spills, blotting is always better than rubbing initially to prevent spreading the stain.
- Direct Spraying of Cleaners: Spraying cleaner directly onto plastic surfaces, especially on the dashboard or near electronic components, can lead to oversaturation and potential damage. Always spray cleaner onto your cleaning cloth or brush instead of directly onto the car’s interior.
- Cleaning in Isolation: Cleaning only the plastic surfaces and neglecting other interior areas can be inefficient. Dust and dirt from seats, carpets, or other surfaces can quickly resettle onto your freshly cleaned plastic. Clean the entire interior – including upholstery, carpets, and windows – for a truly clean and refreshed car interior.
Protecting and Maintaining Plastic Surfaces
Keeping your car’s plastic interior clean is an ongoing task. Regular maintenance and protection are key to preserving its appearance and preventing future stains and damage.
Keeping a container of disinfectant wipes in your car is a great habit. It allows you to quickly wipe down surfaces every few weeks or as needed, maintaining cleanliness and addressing spills as soon as they happen.
In addition, consider using a plastic protectant or polish after cleaning. These products, applied with a cloth (never sprayed directly), create a protective layer on plastic surfaces that repels dust and dirt buildup. They often contain UV protectants to shield plastic from sun damage, preventing fading and cracking. Always apply protectants to clean surfaces for the best results.
Additional Tips for a Complete Clean
Achieving a truly clean car interior goes beyond just plastic surfaces. For a comprehensively clean and fresh car environment, consider these additional tips:
- Use Trash Bags or a Car Trash Can: Keep trash contained by using trash bags or a dedicated car trash can. This reduces the likelihood of wrappers, crumbs, and sticky items ending up under seats or in storage compartments, minimizing mess and potential stains.
- Clean All Interior Surfaces Simultaneously: When you are cleaning the plastic surfaces, take the opportunity to clean all other interior surfaces at the same time. While you have your cleaning supplies out, clean interior windows with a glass cleaner, vacuum carpets and upholstery, and clean floor mats. This holistic approach ensures a completely clean car interior.
- Ventilation and Air Freshener: Cleaning products can sometimes leave behind lingering odors. After cleaning, ensure your car is well-ventilated. Open windows or doors for a while to allow fresh air to circulate and dissipate any cleaner smells. Once aired out, a mild car air freshener can add a finishing touch, leaving your car smelling fresh and clean. Use air fresheners sparingly to avoid overpowering scents.
Understanding the Importance of Regular Cleaning
Regular cleaning of your car’s plastic interior is more than just about aesthetics; it’s about care, responsibility, and maintaining a healthy and valuable asset. Here’s why regular cleaning is important:
- Enhances First Impressions: The condition of your car’s interior makes a significant first impression, whether you are giving someone a ride or simply driving yourself. A clean interior reflects positively on you and shows you take pride in your vehicle.
- Promotes Health and Hygiene: Stains, especially from food and drinks, can become breeding grounds for bacteria and attract pests. Accumulated dust, pollen, and pet dander can also trigger allergies and respiratory issues. Regular cleaning ensures a healthier environment inside your car.
- Preserves Material Integrity: Plastic, while durable, can degrade over time when exposed to stains, UV rays, and environmental pollutants. Regular cleaning, combined with protective products, helps preserve the integrity of the plastic, preventing premature wear, fading, and cracking.
- Maintains Vehicle Value: A well-maintained car, inside and out, retains a higher resale value. Potential buyers will notice a clean interior and perceive the car as being well-cared for. Stained or dirty interiors can negatively impact resale value, as buyers may factor in detailing costs.
- Ensures Safety: A clean and uncluttered car interior contributes to driving safety. Dirty or sticky residues on controls or displays can be distracting or impede proper function. Clear visibility through clean displays and a comfortable, clean environment minimize distractions and contribute to a safer driving experience. By regularly cleaning your car’s plastic interior, you are investing in its longevity, your health, and your overall driving experience.
