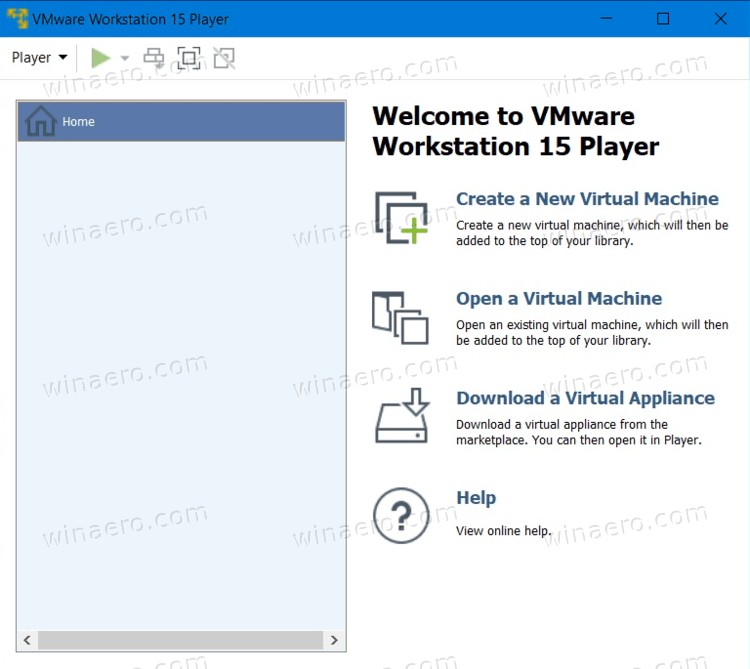
Running Windows 11 in a VMware Player virtual machine (VM) can sometimes result in performance issues due to side-channel mitigations. This guide provides a step-by-step solution to disable these mitigations and improve your VM’s performance. VMware Player, the free counterpart to VMware Workstation Pro, now supports software TPM, enabling users to run Windows 11 VMs. However, systems with Hyper-V enabled often display performance warnings related to these security features. Fortunately, a simple configuration change can resolve this issue.
Understanding Side Channel Mitigations and Performance Impact
Side-channel mitigations are security features designed to protect against vulnerabilities that exploit information leakage from hardware components. While crucial for security, these measures can introduce performance overhead, particularly in virtualized environments like VMware Player. This is because the virtualized hardware doesn’t always fully support these mitigations, leading to inefficiencies. The performance impact is often noticeable on systems with Hyper-V enabled, a Windows virtualization feature. Disabling these mitigations in the VM can significantly improve speed and responsiveness.
Disabling Side Channel Mitigations in VMware Player
VMware Player lacks a direct UI option to disable side-channel mitigations. However, you can achieve this by modifying the VM’s configuration file (VMX file). Follow these steps:
- Power Off and Close: Ensure your Windows 11 VM is completely shut down and VMware Player is closed.
- Locate the VMX File: Navigate to the directory where your VM files are stored. Enable file extensions in Windows Explorer to easily identify the VMX file (e.g.,
YourVMName.vmx). - Edit the VMX File: Open the VMX file using a text editor like Notepad.
- Add the Configuration Line: Insert the following line anywhere within the file:
ulm.disableMitigations="TRUE". This line instructs VMware Player to disable the relevant mitigations for this specific VM. - Save and Close: Save the changes to the VMX file and close the text editor.
Verify Performance Improvement
After completing these steps, launch your Windows 11 VM. You should observe a noticeable improvement in performance, especially if you previously encountered lag or slowdowns. This simple modification allows the VM to operate more efficiently without the overhead of side-channel mitigations. Remember that disabling these features slightly reduces security. Only implement this change if performance is a significant concern and you understand the associated risks.
Alternative Solutions for Windows 11 Virtualization
If modifying the VMX file doesn’t fully address your performance needs, consider alternative virtualization solutions. Microsoft’s Hyper-V offers native Windows 11 virtualization, often providing better performance than third-party solutions. While VirtualBox is another option, ensure it supports TPM passthrough for Windows 11 compatibility.
Conclusion
Disabling side-channel mitigations in VMware Player is a straightforward way to boost Windows 11 VM performance. By adding a single line to the VMX configuration file, you can significantly improve speed and responsiveness. While this tweak carries a minor security trade-off, it’s a valuable option for users prioritizing performance in their virtualized environment. Consider exploring alternative virtualization solutions like Hyper-V if performance remains a concern.

