Pedal Threads are a critical component of your bicycle, ensuring secure attachment and smooth pedaling. Understanding their unique characteristics and proper installation techniques is essential for every cyclist. This article delves into the intricacies of pedal threads, covering identification, installation, removal, and maintenance.
Decoding the Differences: Right-Hand vs. Left-Hand Threads
Unlike most threaded components, bicycle pedals utilize both right-hand and left-hand threads. This distinctive feature prevents pedals from loosening during riding due to the natural pedaling motion.
- Right Pedal: Features a standard right-hand thread. This means it tightens clockwise and loosens counterclockwise. Look for an “R” marking on the pedal axle.
- Left Pedal: Employs a reverse, left-hand thread. It tightens counterclockwise and loosens clockwise. Look for an “L” marking on the pedal axle.
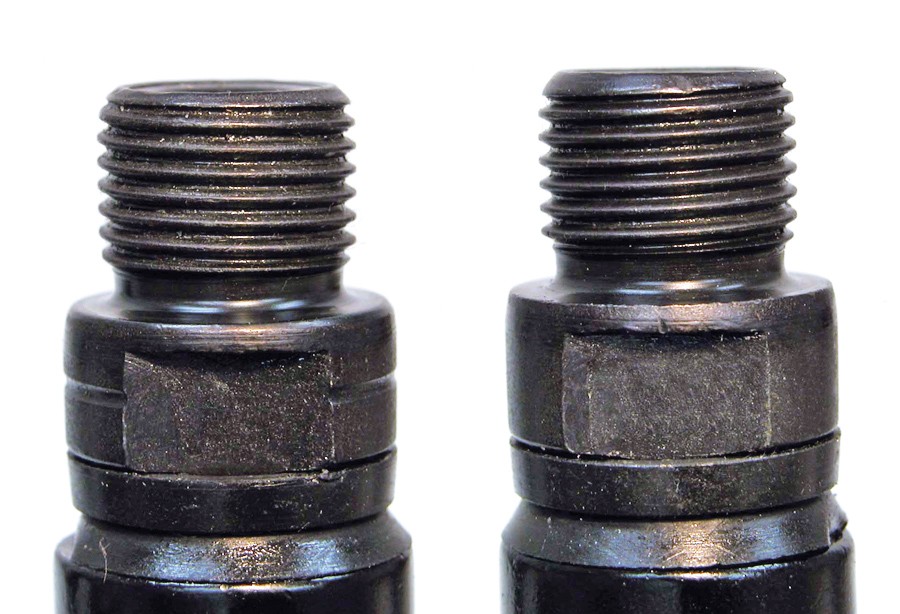
Identifying the correct pedal and thread direction is crucial to avoid damaging the crank arms. A helpful visual cue is the thread’s slope: right-hand threads slope upwards to the right, while left-hand threads slope upwards to the left.
Pedal Removal: A Step-by-Step Guide
Removing pedals can seem daunting due to their often tight fit. Following these steps ensures safe and efficient removal:
- Secure Your Bike: Use a bike stand for stability. Shift the chain to the largest chainring to minimize the risk of injury.
- Right Pedal Removal: Position the pedal wrench on the back of the right pedal arm, aiming for a 90-degree angle or less with the crank arm. Turn the wrench counterclockwise (or backward as if pedaling).
- Left Pedal Removal: Position the pedal wrench on the back of the left pedal arm. Turn the wrench clockwise (or backward as if pedaling).
- Leverage and Caution: For stubborn pedals, use the opposite crank arm as a lever for added torque. Avoid skin abrasions by using gloves or a cloth.
Some pedals use an 8mm hex fitting instead of a pedal wrench flat. Access this fitting from the inside of the crank arm and use an 8mm hex wrench, remembering the reverse threading on the left pedal.
Pedal Installation: Ensuring a Secure Fit
Proper installation is vital for safe and efficient cycling. Follow these steps:
- Identify Pedals: Double-check the “L” and “R” markings to ensure correct placement.
- Grease the Threads: Apply a generous amount of grease to the pedal threads to prevent seizing and facilitate future removal.
- Thread by Hand: Start threading the pedals into the crank arms by hand to avoid cross-threading.
- Tighten with a Wrench: Use a pedal wrench to tighten the pedals to the manufacturer’s recommended torque (typically around 35-40 Nm). Remember: right pedal tightens clockwise, left pedal tightens counterclockwise.
Pedal Maintenance: Keeping Your Ride Smooth
Regular maintenance ensures the longevity and performance of your pedals:
- Inspection: Periodically check pedal threads for damage or wear.
- Lubrication: Keep the pedal threads and bearings lubricated to prevent corrosion and ensure smooth rotation.
- Professional Servicing: For complex issues like bearing replacement or thread repair, consult a qualified bike mechanic.
By understanding the nuances of pedal threads, you can confidently maintain your bike and enjoy countless miles of smooth riding. Remember to always prioritize safety and consult a professional if you encounter any difficulties.