
Migrating custom templates from previous versions to Inventor 2015 is crucial for maintaining a consistent design workflow. This article provides a step-by-step guide on how to automate the migration process using Inventor’s Task Scheduler, ensuring a seamless transition to the 2015 release.
While manually opening and saving each template file is possible, leveraging Task Scheduler offers a more efficient and automated approach, especially when dealing with a large number of templates stored in Vault.
This guide outlines the process of migrating custom templates that are checked into Vault, utilizing Task Scheduler to streamline the checkout, migration, and check-in process. This automated approach minimizes manual intervention and ensures all templates are readily available in Inventor 2015.
Preparing for Template Migration in Inventor 2015
Before initiating the migration, it’s crucial to back up existing templates. This ensures that previous versions remain accessible and usable, especially if working with both older and newer versions of Inventor. Remember, once migrated, reverting to the older template format is not possible. Create a separate directory for archiving pre-2015 templates.
Automating Migration with Task Scheduler
Access Task Scheduler through the following path: Windows > Start > Autodesk > Inventor 2015 > Tools > Task Scheduler.
Within Task Scheduler, select Create Task > Migrate Files.
Configuring the Migration Task in Inventor 2015
The migration setup screen offers several options. For migrating vaulted templates, ensure the following settings are configured:
- Project: Select the designated Inventor 2015 project.
- Source: Check the “Migrate from Vault” option.
- Schedule: Choose “Start migration instantly” for immediate execution.
Selecting Templates for Migration
Add the desired files or folders from Vault using the provided icons. You can add individual files, entire folders, or even combine selections. In this example, a single folder containing custom templates is selected.
Configuring Migration Options
The “Options” icon allows for customizing check-in settings. The Local Options tab provides control over file rebuilding, update deferral, and other local operations. The Vault tab allows for associating visualization files and managing local copies. For templates, default settings often suffice. Unless specific actions are required, retaining the local copies post-migration is recommended for continued use within Inventor 2015.
Executing and Verifying the Migration
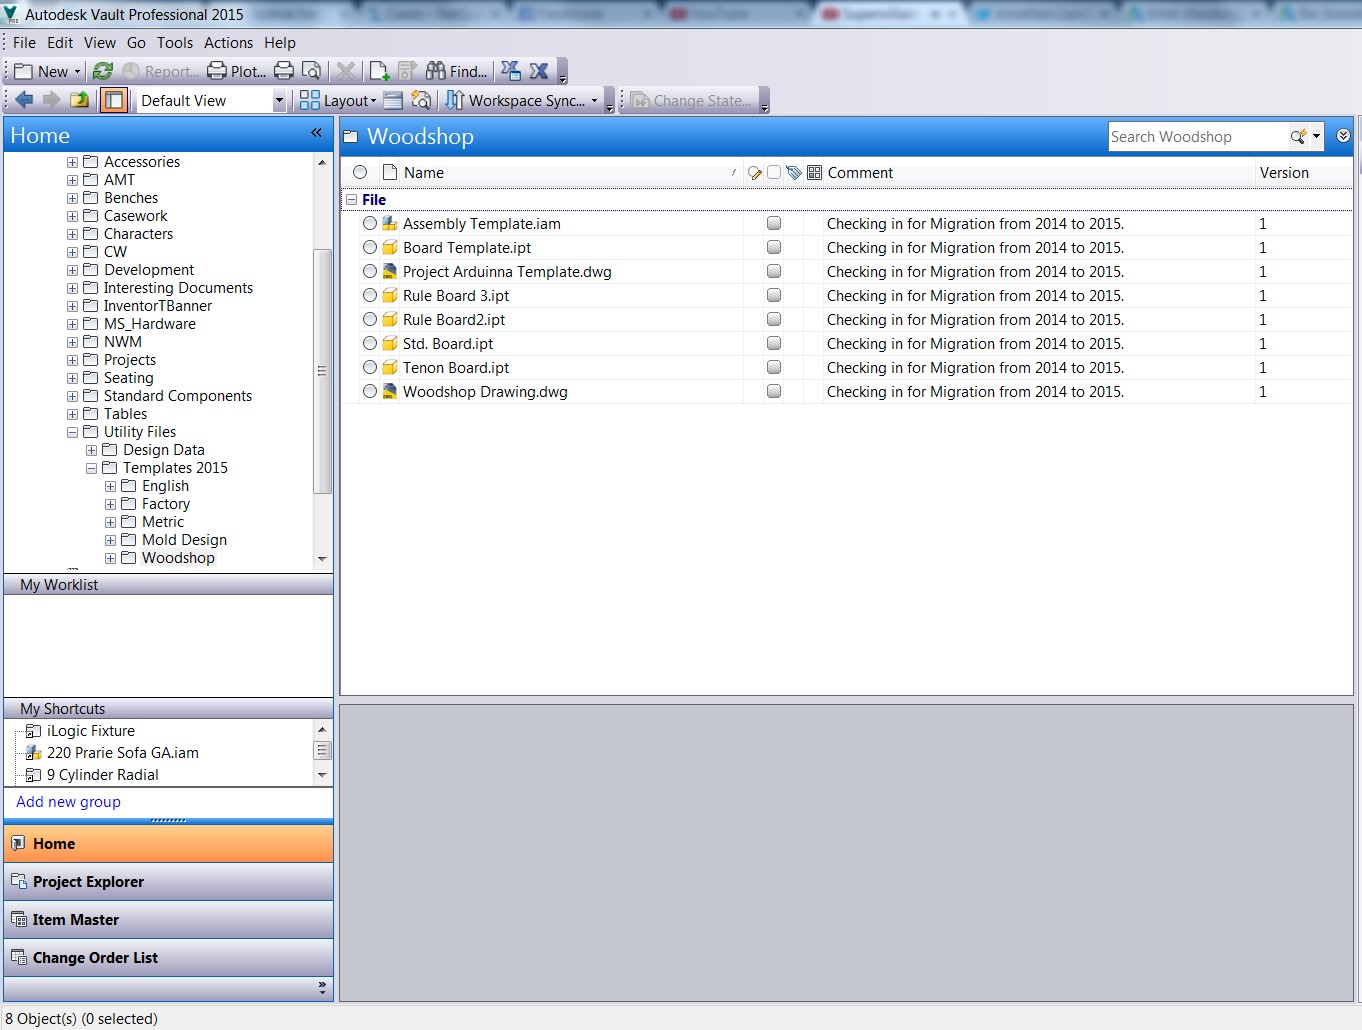
After confirming all settings, initiate the migration. The process will take some time depending on the number and complexity of the templates. Upon completion, verify the successful migration by checking for new versions of the templates within Vault.
With the migration complete, the updated templates are ready for use in Inventor 2015.