Learning how to use a multimeter is essential for anyone working with electronics, from hobbyists to professionals. This comprehensive guide will walk you through the basics, explaining how to measure voltage, current, resistance, and check continuity.
What is a Multimeter and Why Do You Need One?
A multimeter is a versatile tool that measures various electrical properties, including voltage, current, and resistance. It’s an indispensable tool for troubleshooting circuits, identifying faulty components, and ensuring the proper functioning of electronic devices. Think of it as a doctor for your electronics, helping you diagnose problems and find solutions.
Choosing the Right Multimeter
Multimeters come in a wide range of features and price points. For beginners, a basic digital multimeter is sufficient. These models typically offer accurate readings for common tasks and are user-friendly. Consider features like auto-ranging, which automatically selects the appropriate measurement range, making it easier for beginners.
Understanding Your Multimeter: Display, Knob, and Ports
Your multimeter features a display to show readings, a selection knob to choose the measurement type, and ports to connect the probes. The two probes, typically red and black, are used to connect the multimeter to the circuit or component being tested. Remember, the black probe connects to the “COM” (common) port, while the red probe connects to different ports based on the measurement you want to take.
Measuring Voltage: DC and AC
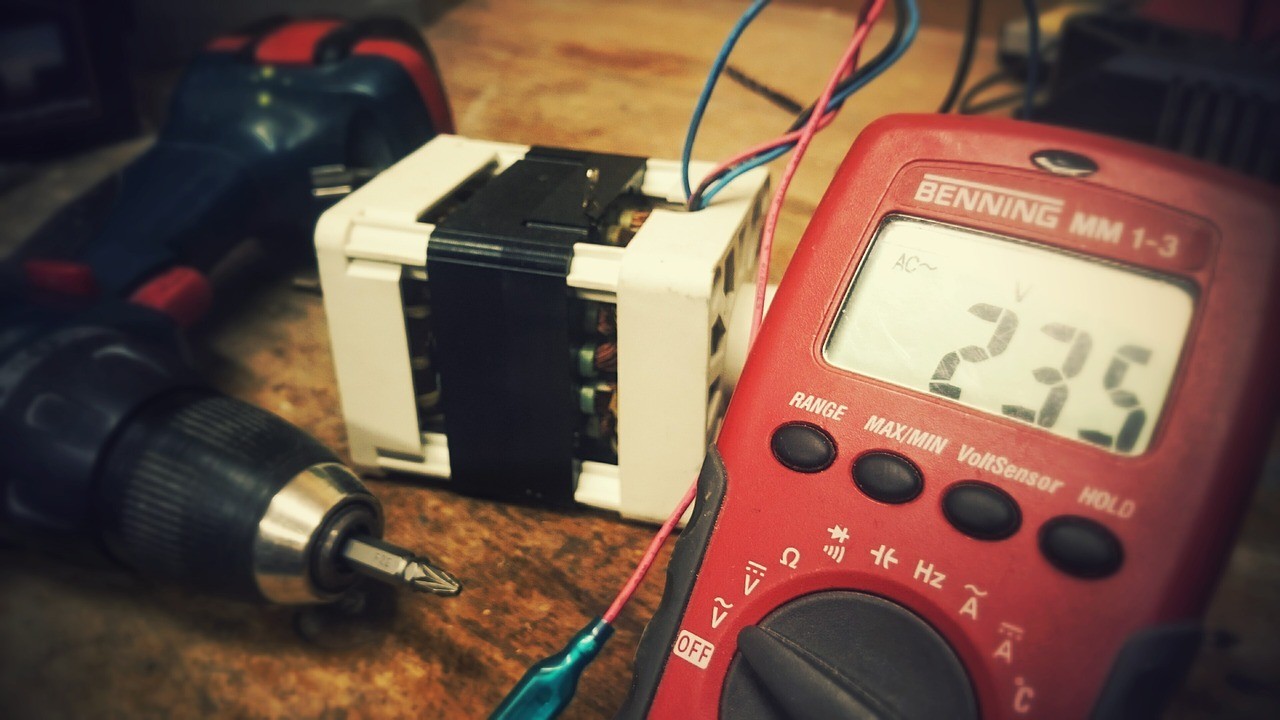
Voltage is the electrical potential difference between two points. Your multimeter can measure both DC (direct current) and AC (alternating current) voltage. To measure voltage, connect the probes in parallel to the component. Select the appropriate voltage range using the selection knob.
For DC voltage, ensure correct polarity: red probe to the positive terminal and black to the negative. For AC voltage, polarity doesn’t matter. If the reading shows “1,” the selected range is too low; if it’s less accurate, the range is too high.
Measuring Current: In Series with the Circuit
Current is the flow of electrical charge. To measure current, connect the multimeter in series with the circuit, meaning the current must flow through the multimeter. Select the appropriate current range (mA or A) and ensure the red probe is in the correct port.
Remember, measuring current incorrectly can damage the multimeter or the circuit. Always start with the highest range and work your way down.
Measuring Resistance: Testing Component Values
Resistance measures how much a component opposes the flow of current. To measure resistance, disconnect the component from the circuit and connect the probes to its leads. Select the appropriate resistance range (Ω). The reading will indicate the resistance value in ohms.
Checking Continuity: Identifying Breaks in a Circuit
Continuity testing checks for a complete electrical path. Select the continuity mode (often indicated by a speaker symbol). Touch the probes together; a beep indicates a closed circuit. Use this to test wires, switches, and other components for breaks or shorts.
Important: Always disconnect power before checking continuity.
Conclusion: Mastering the Multimeter
By understanding these basic functions, you can confidently use a multimeter to troubleshoot and analyze electronic circuits. Practice and experience will further enhance your skills, making you proficient in using this essential tool.