Ever fumbled with a screw, especially in a tight engine bay or undercarriage, only to watch it drop into oblivion? As a mechanic, I can’t tell you how many times a simple task has been prolonged by dropped fasteners. That’s why learning how to magnetize your tools, particularly screwdrivers, is a game-changer. While there are several methods, using a car battery offers a powerful and readily available way to achieve strong magnetization, perfect for those tougher jobs around vehicles. Let’s dive into why and how to magnetize your tools using a car battery, making your work in the garage or workshop significantly easier.
Why Bother Magnetizing Your Tools?
Before we get into the specifics of using a car battery, let’s understand why magnetizing your tools is beneficial, especially for automotive work:
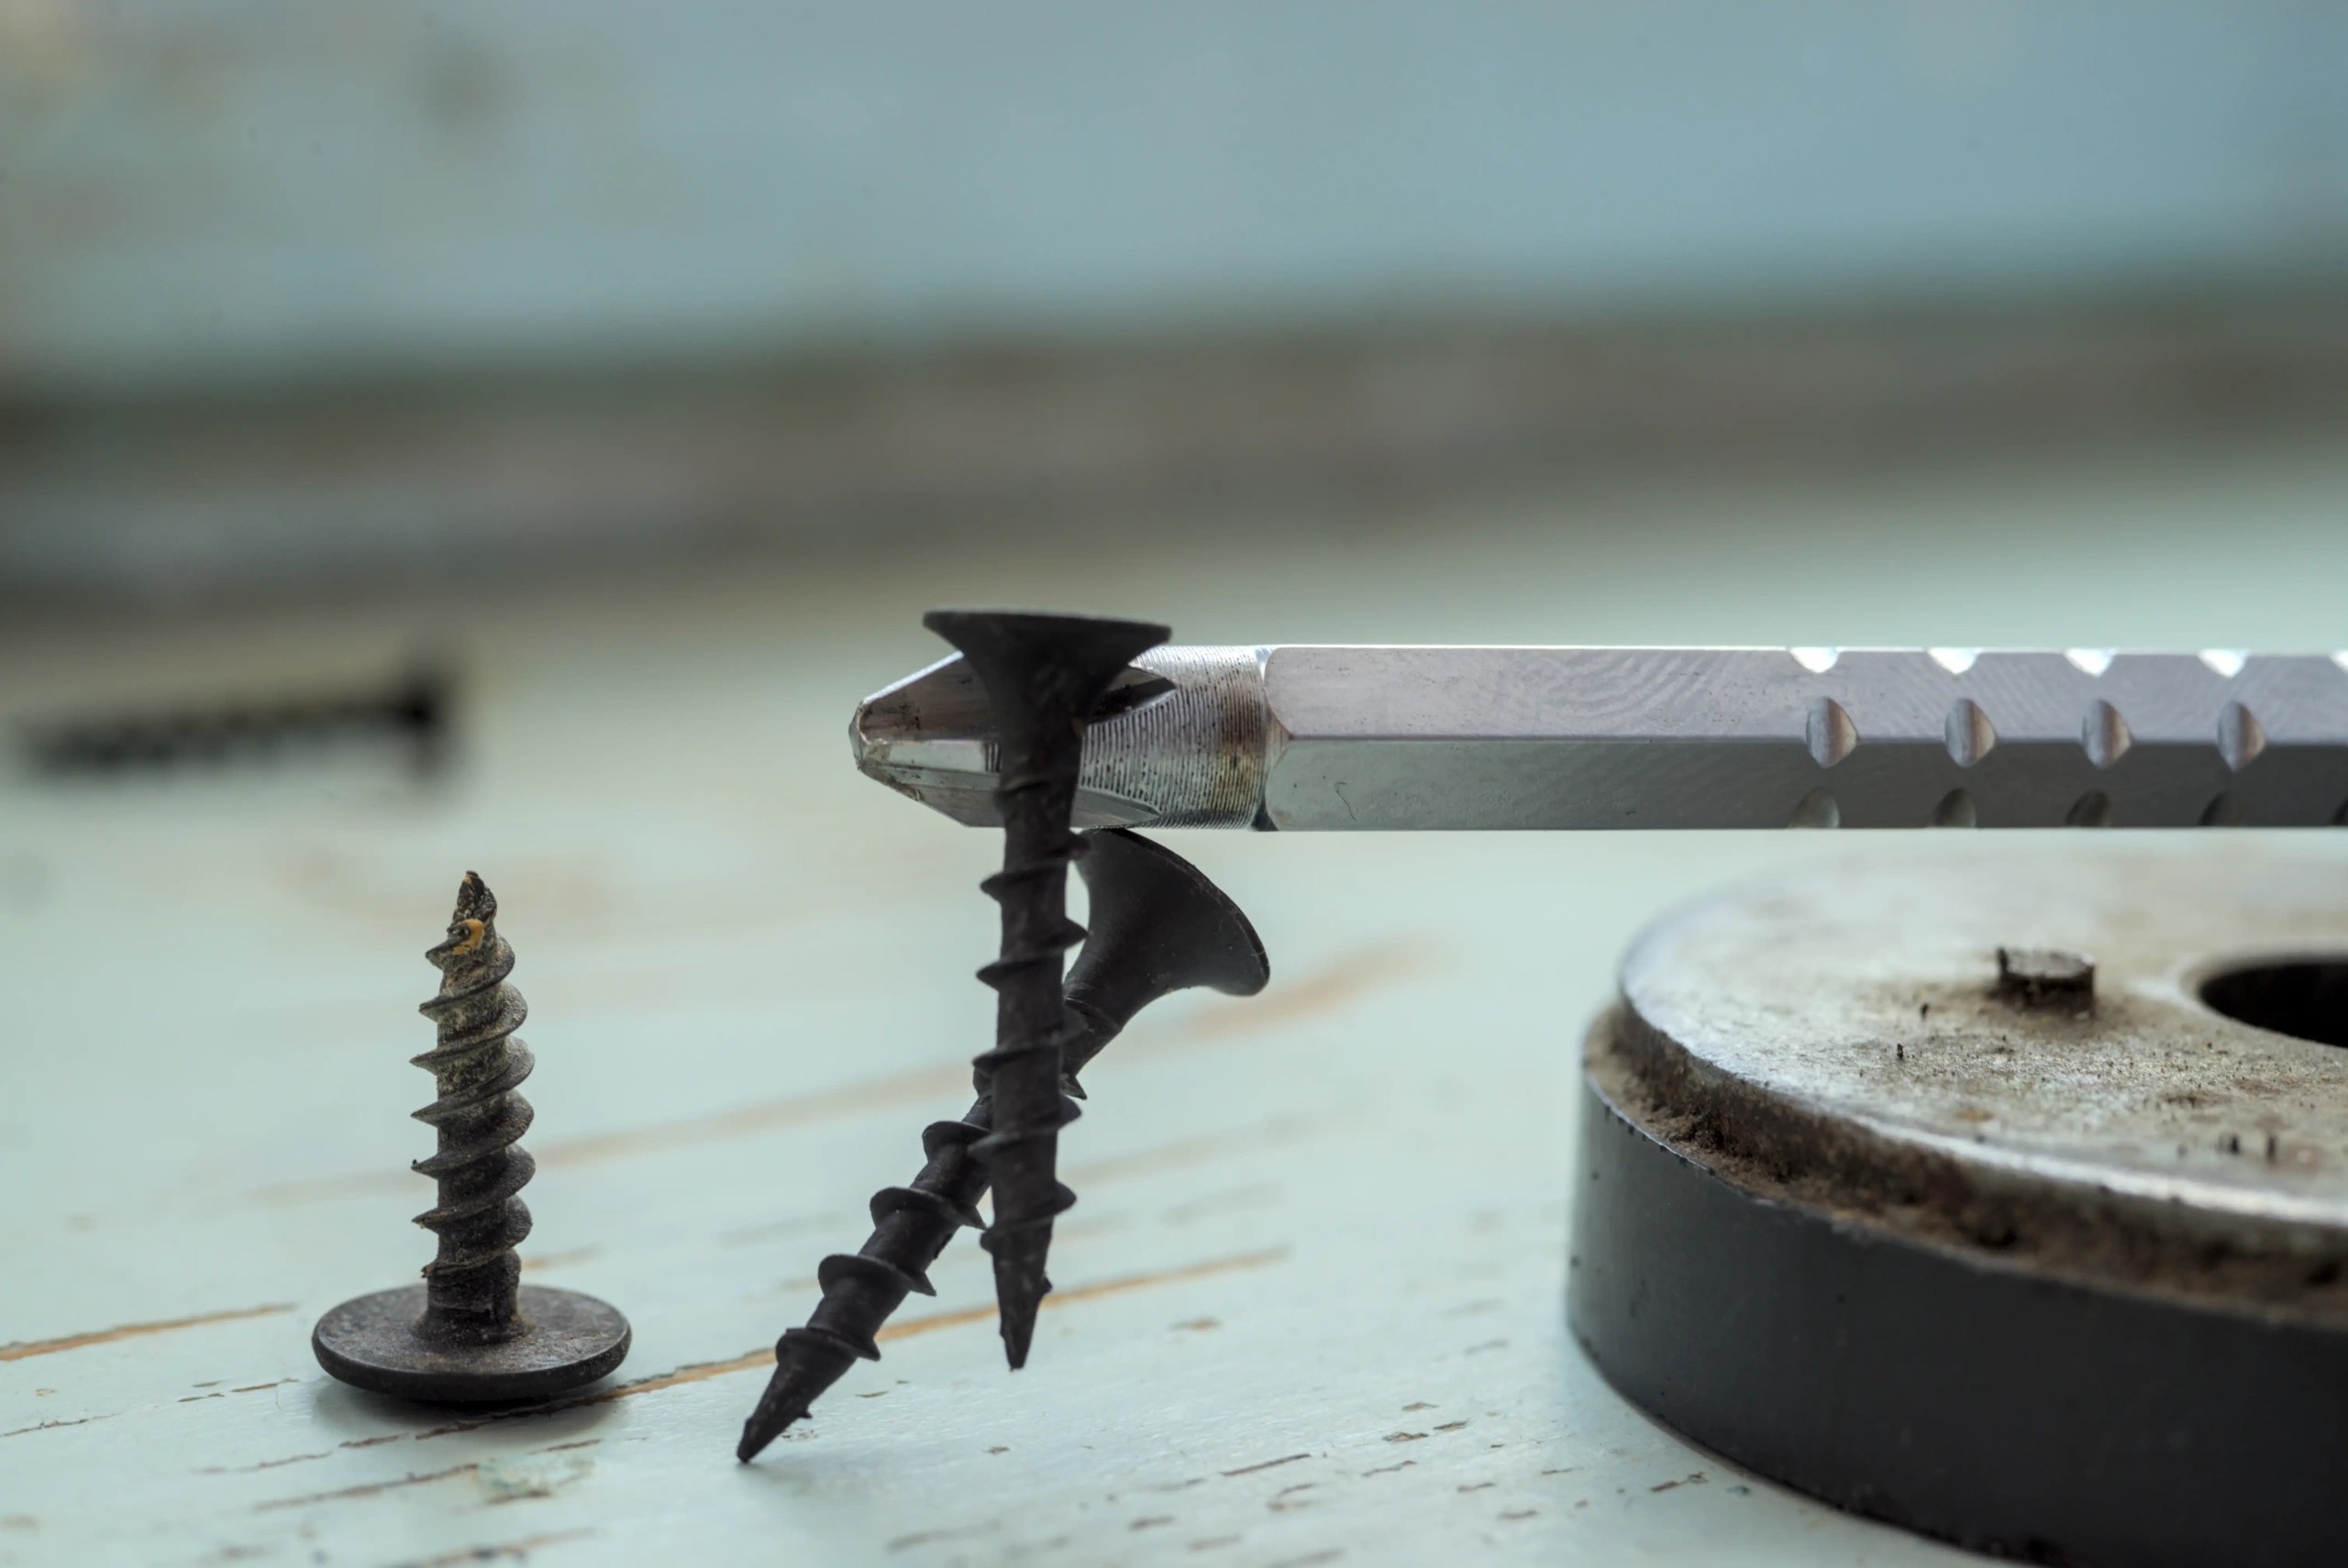
- Screw Retention: The most obvious advantage – magnetized screwdrivers hold onto screws, nuts, and bolts. This is invaluable when working in awkward positions, preventing dropped fasteners in hard-to-reach areas like engine compartments.
- Increased Efficiency: Less time spent retrieving dropped screws means more time spent on the actual repair. Magnetization streamlines your workflow.
- Precision Work: For delicate tasks, a magnetized tool can help you precisely place small screws and components without them slipping or rolling away.
- Versatility: Beyond screwdrivers, you can magnetize wrenches, sockets, and other tools to a certain extent, enhancing their utility in various automotive repair scenarios.
Method 1: The Car Battery Power-Up for Magnetization
Using a car battery to magnetize your tools is a robust method, ideal when you need a strong magnetic force. This technique leverages electromagnetism, creating a powerful temporary magnet. Here’s how to safely and effectively magnetize your tools using a car battery:
Safety First When Using a Car Battery
Working with car batteries involves potential hazards. Always prioritize safety:
- Wear Safety Gloves: Protect your hands from battery acid and potential sparks.
- Wear Safety Glasses: Shield your eyes from any sparks or fumes.
- Work in a Well-Ventilated Area: Battery fumes can be harmful.
- Avoid Short Circuits: Ensure the wire connections are controlled and don’t accidentally short-circuit across the battery terminals without going through the tool.
- Use Insulated Wire: Opt for electrical wire with insulation to prevent accidental shorts and for safer handling.
- Don’t Overheat: Magnetization is quick. Prolonged connection can overheat the wire and is unnecessary.
Step-by-Step Guide to Magnetizing with a Car Battery
-
Gather Your Materials:
- Your tool (screwdriver, wrench, etc.)
- A car battery (12V)
- Insulated electrical wire (around 12-18 gauge is suitable)
- Safety gloves and glasses
-
Prepare the Wire: Cut a length of insulated wire, about 1-2 feet should be sufficient for most tools. Strip about an inch of insulation from both ends of the wire to expose the bare metal.
-
Wrap the Wire Around the Tool: Tightly and evenly wrap the insulated wire around the shaft of the tool you want to magnetize. For a screwdriver, wrap it around the metal shaft, starting from near the handle and moving towards the tip. Make several turns (5-10 wraps) to create a good coil.
-
Connect to the Car Battery: Carefully connect the stripped ends of the wire to the car battery terminals.
- Attach one stripped end of the wire to the positive (+) terminal of the car battery.
- Attach the other stripped end to the negative (-) terminal.
-
Wait Briefly: Allow the current to flow for a short period, around 10-15 seconds is usually enough. You don’t need to hold it for long; the magnetization happens quickly.
-
Disconnect and Test: Disconnect the wires from the battery terminals. Now, test the tool by trying to pick up a screw or a small metal object. It should now be magnetized. If not strong enough, you can repeat the process for a few more seconds, but avoid prolonged connection.
-
Repeat if Necessary: If the magnetization isn’t as strong as desired, repeat steps 3-6. However, be mindful not to overheat the wire or battery by excessively long or repeated connections.
The Science Behind It: When you connect the wire to the car battery, you create an electromagnet. The electric current flowing through the wire wrapped around your tool aligns the magnetic domains within the tool’s metal, causing it to become magnetized. A car battery, with its higher voltage and amperage compared to smaller batteries, provides a stronger magnetic field, resulting in more effective magnetization.
Other Methods for Magnetizing Tools (For Context)
While the car battery method is powerful, here are a few other techniques you might consider, especially if you don’t have a car battery readily available or prefer a less intense approach:
-
Using a Regular Magnet: Rubbing a strong magnet (like a neodymium magnet) along the tool’s shaft in one direction can magnetize it. This is a simpler method but generally results in weaker magnetization compared to using a car battery.
-
Using a Battery (Smaller Voltage): Similar to the car battery method, you can use a smaller battery (like a 6V or 9V) and wrap wire around the tool. This will create a weaker electromagnetic field than a car battery, resulting in less magnetization.
-
Using a Magnetizer/Demagnetizer Tool: These specialized tools are designed specifically for magnetizing and demagnetizing tools. They are convenient and reusable, offering controlled magnetization.
Demagnetizing Your Tools: When It’s Necessary
Sometimes, you need to demagnetize your tools. Working on sensitive electronics or components that could be affected by magnetism requires demagnetized tools. Here are a few ways to demagnetize a tool:
- Demagnetizer Tool: The easiest and most effective way is to use a demagnetizing slot on a magnetizer/demagnetizer tool.
- Hitting the Shaft: Striking the tool sharply against a hard surface can disrupt the alignment of magnetic domains, reducing magnetization.
- Rubbing Against Metal (Less Reliable): Rubbing the tool against another piece of metal in random directions might help reduce magnetism, but it’s not very reliable.
Conclusion: Mastering Tool Magnetization for Auto Work
Knowing how to magnetize your tools, especially with a car battery, is a valuable skill for any mechanic or DIY car enthusiast. It enhances efficiency, reduces frustration from dropped parts, and makes intricate work more manageable. While the car battery method provides a strong and effective magnetization, always remember to prioritize safety when working with automotive batteries. Experiment with these techniques and find what works best for your needs in your garage or workshop. Do you have any other tool magnetization tips or methods you prefer? Share them in the comments below!
FAQ
How long does a screwdriver stay magnetized?
The duration of magnetization varies. It can last from a few hours to several years, depending on factors like the strength of the initial magnetization, temperature, and exposure to strong opposing magnetic fields. Generally, for tools magnetized with a car battery, the magnetization will be reasonably long-lasting for typical use.
What are the benefits of magnetizing a screwdriver?
As discussed, the primary benefits include easier handling of screws, preventing dropped fasteners in tight spots, increased work efficiency, and improved precision in delicate tasks, all of which are highly relevant in automotive repair and maintenance.