
A motion sensor can be a great addition to any room, automating lighting based on occupancy. However, a common issue arises when using motion sensors with chairs: remaining stationary for extended periods can trigger the lights to turn off unexpectedly. This guide outlines a simple and cost-effective method to create a DIY Car Occupancy Sensor for around $10, effectively solving this problem. This sensor utilizes readily available components and basic soldering skills.
Building Your Own Car Occupancy Sensor
This project repurposes a car seat pressure sensor to detect occupancy. When pressure is applied to the sensor, indicating someone is sitting in the chair, the modified Aqara sensor transmits a signal to your home automation system.
Materials You’ll Need:
- Aqara Door/Window Sensor: This readily available sensor provides the Zigbee communication capabilities for our project.
- Citall Car Seat Pressure Sensor: This inexpensive component acts as the core of the occupancy detection system.
- Soldering Iron: Required for connecting the car seat pressure sensor to the Aqara sensor.
- Solder: Essential for creating a secure electrical connection.
- Chair: The target seating for your occupancy sensor.
Step-by-Step Instructions
-
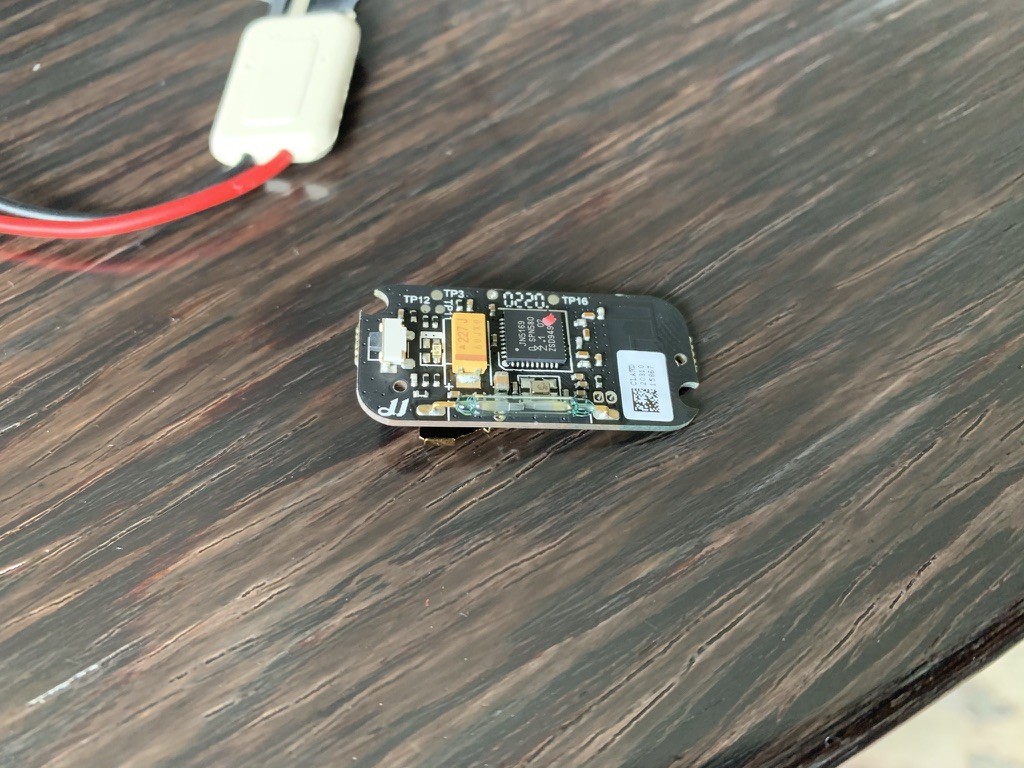
Disassemble the Aqara Sensor: Carefully take apart the Aqara door/window sensor until you isolate the printed circuit board (PCB).
-
Prepare the Car Seat Pressure Sensor: Disconnect the wires from the connector on the car seat pressure sensor.
-
Soldering: Solder the wires from the car seat pressure sensor to the points on the Aqara PCB where the original magnetic reed switch was connected. The polarity of the wires (red and black) does not matter for this application.
-
Reassemble and Pair: Put the battery back into the Aqara sensor and pair it with your Home Assistant system using your preferred method (ZHA or Zigbee2MQTT). Test the sensor functionality to ensure it registers occupancy correctly. You can do this by applying pressure to the car seat sensor and observing the status change in Home Assistant.
- Install the Sensor: Access the underside of your chair, either through a zipper or by carefully creating an opening. Position the car seat pressure sensor in a comfortable spot where it will be compressed when someone sits down. Secure the sensor and wiring to prevent movement or damage. Reassemble the chair.
Conclusion
By following these steps, you can create a reliable and affordable car occupancy sensor using readily available components. This DIY solution eliminates the frustration of motion sensor-controlled lights turning off while seated and enhances the automation capabilities of your smart home. This project is a testament to how simple components can be combined creatively to address everyday challenges.