Car fuses are designed to protect your vehicle’s electrical system, but they can be a pain to replace, especially when they’re hard to reach or stuck fast. Recently, while dealing with a blown cigar lighter fuse in my 2015 Transit, I realized the need for a specialized tool. Instead of struggling with pliers or risking damage with makeshift tools, I decided to craft my own Car Fuse Tool. It turned out to be a surprisingly simple and effective project, and I’m sharing the process with you so you can create your own handy fuse puller.
While you can purchase dedicated fuse puller tools, making your own is a satisfying DIY project that ensures you have the right tool on hand whenever you need it. This guide will walk you through the steps to create a robust and reliable car fuse tool using basic materials and tools you might already have.
Step-by-Step Guide to Crafting Your Own Car Fuse Tool
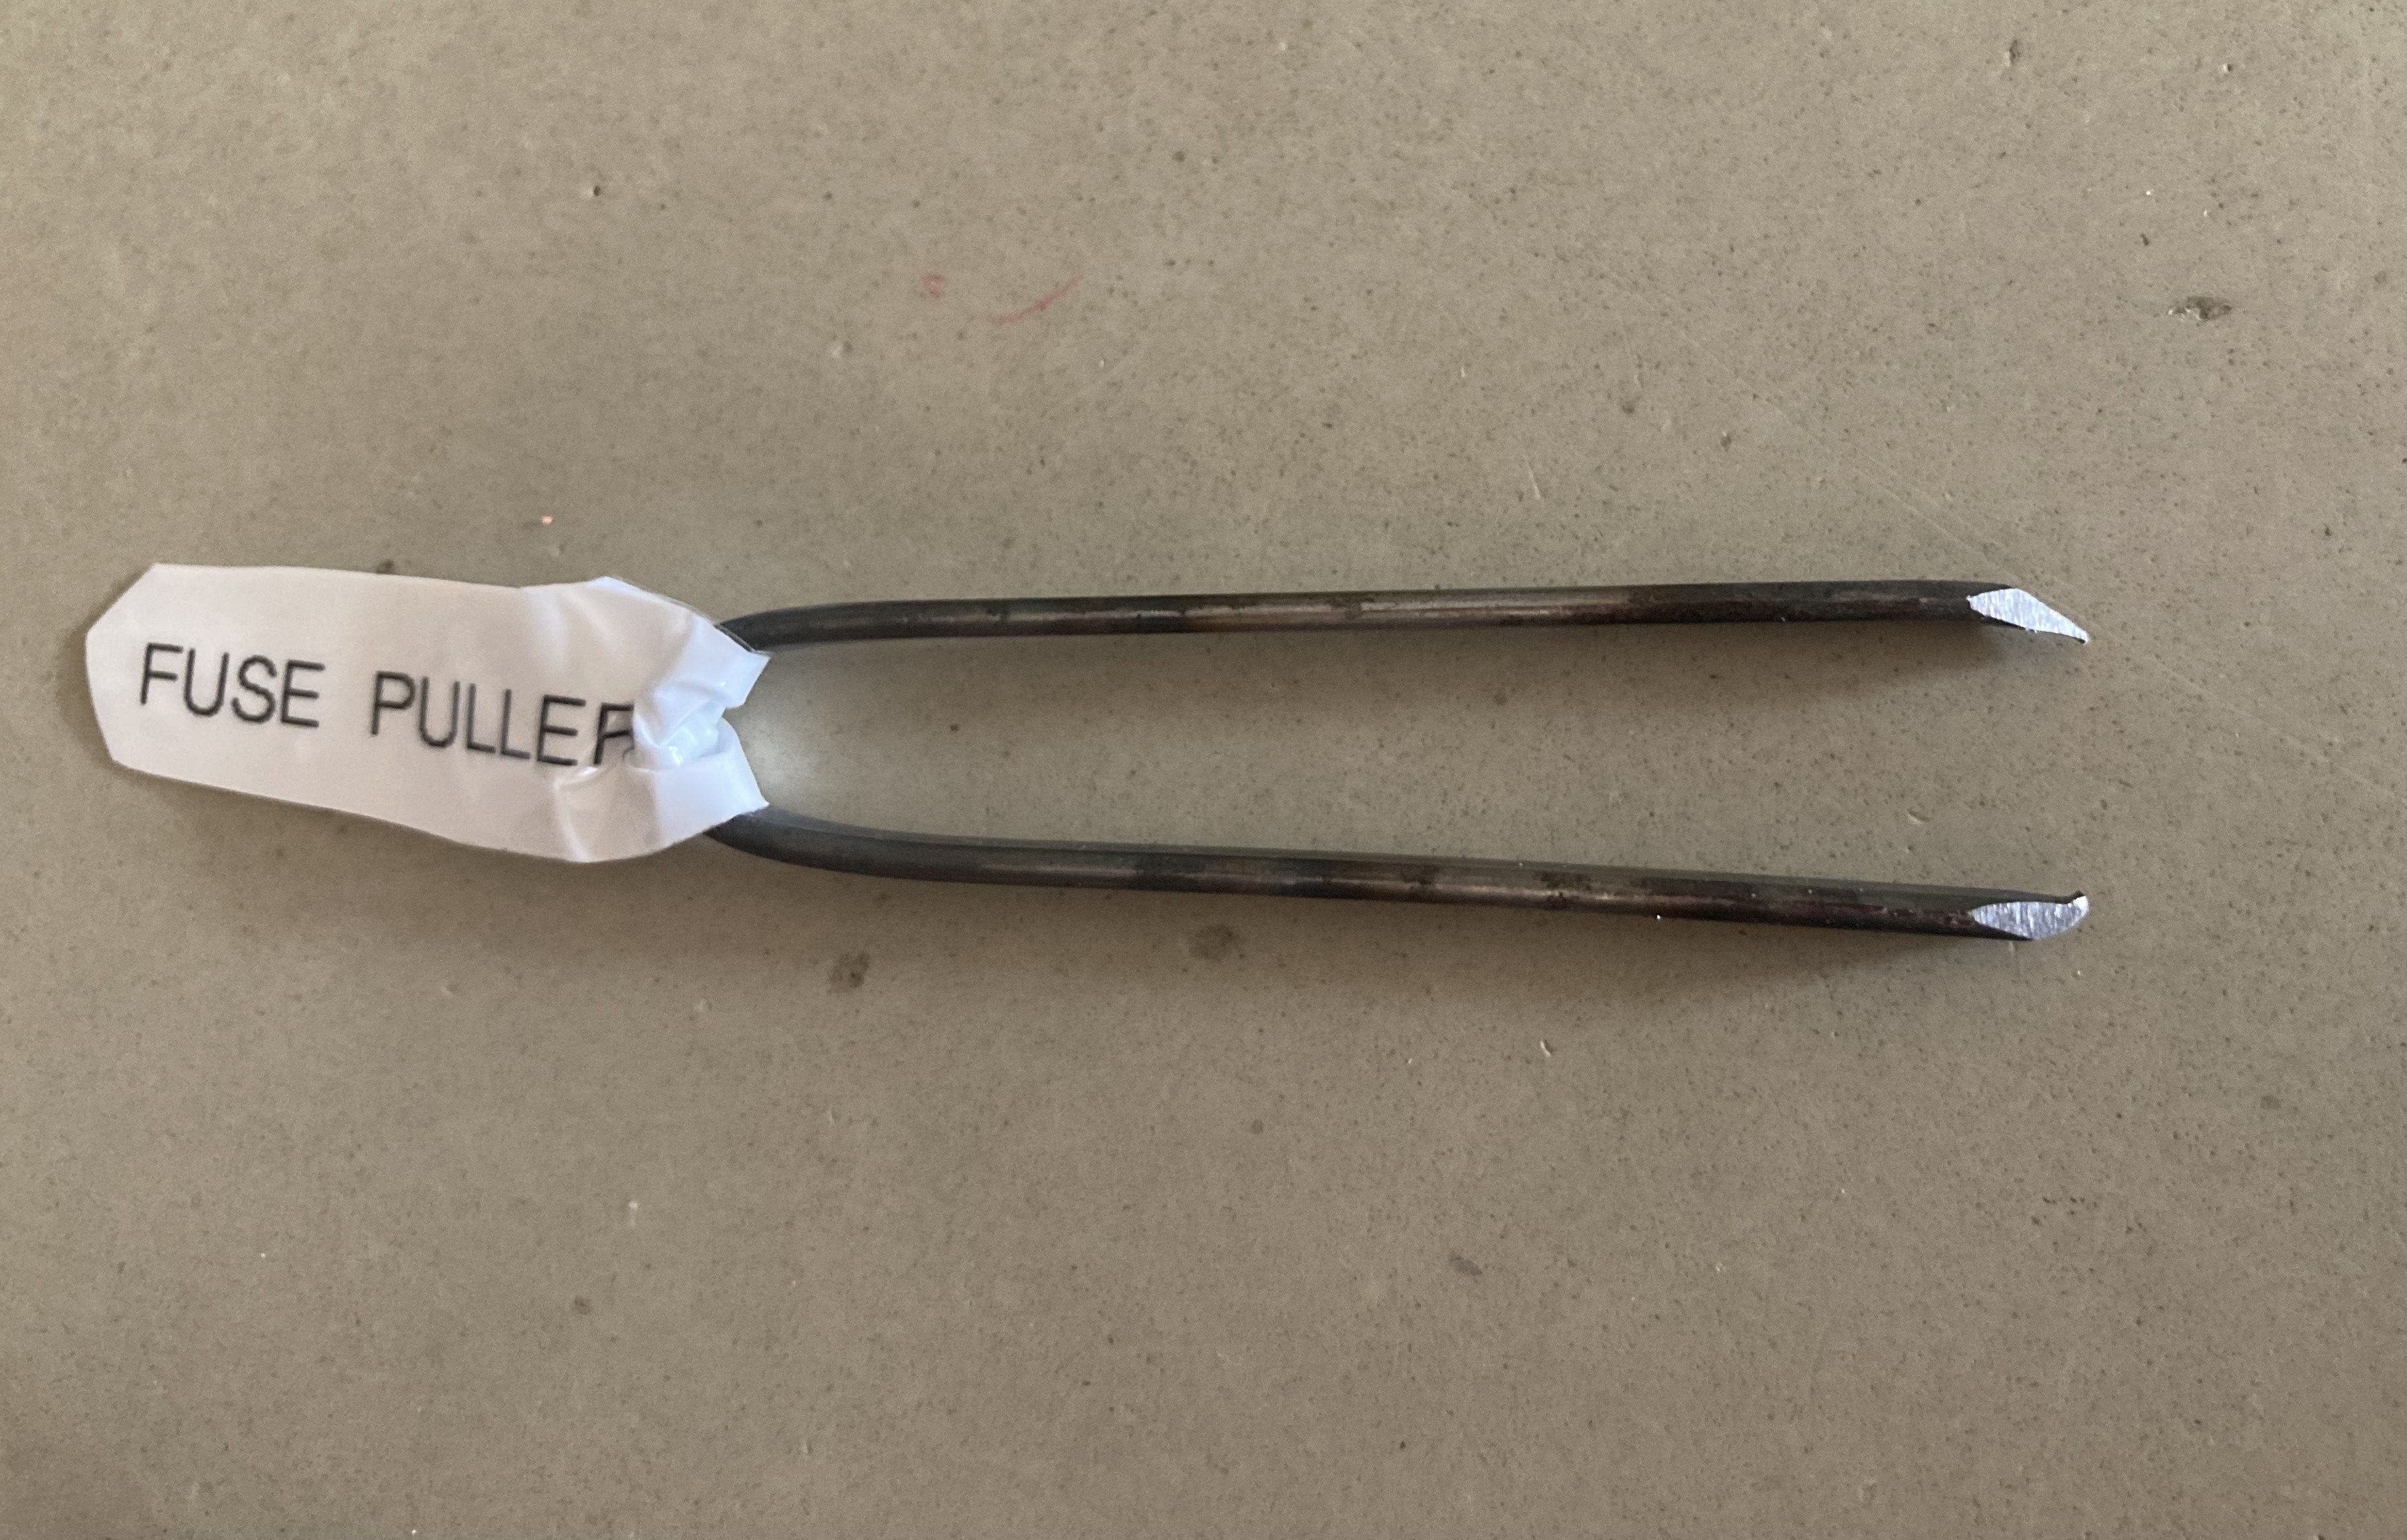
This DIY approach utilizes spring steel, known for its stiffness and rust resistance, to create a durable and effective fuse puller. Here’s how to make your own car fuse tool:
-
Prepare the Spring Steel: Begin with a piece of spring steel approximately 6 inches long, 1/8 inch wide, and 1/16 inch thick. A great source for this material is an old fish tape spool, which often contains high-quality spring steel wire.
-
Shape the U-Bend: Using a plumber’s torch, heat the middle section of the steel until it’s pliable. Bend it into a U-shape, ensuring the tips are spaced about 1/2 to 5/8 inches apart. This spacing is ideal for gripping most standard car fuses.
-
Anneal the Tips: Heat the ends of the U-shaped steel to a glowing red color to remove the temper. This annealing process makes the metal softer and easier to shape for the next steps. Allow the metal to cool down slowly.
-
File the Ends: Once cooled, file the ends of the steel flat. This creates a clean surface for shaping the fuse-gripping lips.
-
Create the First Lip: Tightly clamp one side of the U-bend in a vise, with the tip pointing upwards and only about 1/8 inch exposed above the vise. Use a hammer to carefully peen the end, creating a very small, inward-facing lip. Aim for a lip of around .05 inches, angled inwards at approximately 60 degrees. This lip is crucial for securely grabbing the fuse.
-
Form the Second Lip: Repeat step 5 for the other side of the U-bend to create a matching lip on the opposite tip. Ensure the lips are aligned and will effectively grip a fuse from both sides.
-
Shape the Tips: Use a grinder to carefully angle the back and sides of the tips as shown in the images. This shaping refines the tips, making them more precise for accessing and pulling fuses in tight fuse boxes.
Dealing with Proprietary Fuses: The Ford Frustration
After successfully pulling the fuse with my newly crafted tool, the next challenge was finding a replacement. I quickly discovered that standard LittleFuse JCase fuses were incompatible with my Ford Transit. This led to the typical search across Google and local auto parts stores, ultimately ending with a trip to the Ford dealership.
To my surprise, the Ford parts department was very familiar with the issue. Simply presenting the old fuse at the counter prompted an immediate, “Ohhh right. Sorry about that, let me just go grab one of those for you.” It turns out Ford, like many manufacturers, sometimes uses proprietary parts, including uniquely designed fuses. This can be frustrating when a simple replacement turns into a parts-sourcing mission.
The Value of a DIY Car Fuse Tool
Despite the occasional annoyance of proprietary automotive parts, having a reliable car fuse tool is invaluable. Whether you’re dealing with standard fuses or the occasional proprietary type, this DIY tool ensures you can quickly and safely remove and replace car fuses whenever the need arises. It’s a small project that can save you time and frustration down the road, making it a worthwhile addition to any car owner’s toolkit.