The Controller Area Network (CAN) protocol is the backbone of in-vehicle communication, enabling microcontrollers and devices to communicate with each other in automotive applications without a host computer. For car enthusiasts and DIYers keen on delving into vehicle diagnostics and data monitoring, understanding and utilizing the CAN protocol opens up a world of possibilities for creating custom diagnostic projects. This guide explores how to leverage the WiCAN device in conjunction with Home Assistant, a popular open-source home automation platform, to embark on CAN protocol based diagnostic projects in your car.
WiCAN acts as a bridge, allowing you to access and interpret the wealth of data transmitted over your vehicle’s CAN bus network. By integrating WiCAN with Home Assistant via the MQTT protocol, you can create a powerful and user-friendly system for real-time car diagnostics and monitoring. Node-RED, a flow-based programming tool available as a Home Assistant add-on, simplifies the process of creating automations and visualizing CAN bus messages received from WiCAN.
Here’s a step-by-step guide to set up your CAN protocol based diagnostic project using WiCAN and Home Assistant:
- Install Mosquitto Broker Add-on in Home Assistant: MQTT (Message Queuing Telemetry Transport) is a lightweight messaging protocol ideal for IoT devices like WiCAN to communicate with Home Assistant. Install the Mosquitto Broker add-on to establish an MQTT server within your Home Assistant environment.
- Create a Dedicated Home Assistant User for WiCAN: For security and access management, create a new user account in Home Assistant specifically for WiCAN. These credentials will be used to configure WiCAN’s MQTT settings.
- Connect to WiCAN Access Point and Access Web Interface: WiCAN typically operates as an access point initially. Connect to the WiCAN Wi-Fi network (WiCAN_xxxxxxxxxxxx) and navigate to
http://192.168.80.1/in your web browser to access WiCAN’s configuration interface. - Set WiCAN Mode to Ap+Station: Configure WiCAN to operate in “Ap+Station” mode. This allows WiCAN to act as both an access point and connect to your home Wi-Fi network simultaneously.
- Configure Wi-Fi Network Details: Enter your home Wi-Fi network’s SSID and password in the WiCAN web interface to enable it to join your network.
- Enable and Configure MQTT in WiCAN: Enable the MQTT feature in WiCAN’s settings and input the Home Assistant user credentials created in step 2. This establishes the communication channel between WiCAN and Home Assistant.
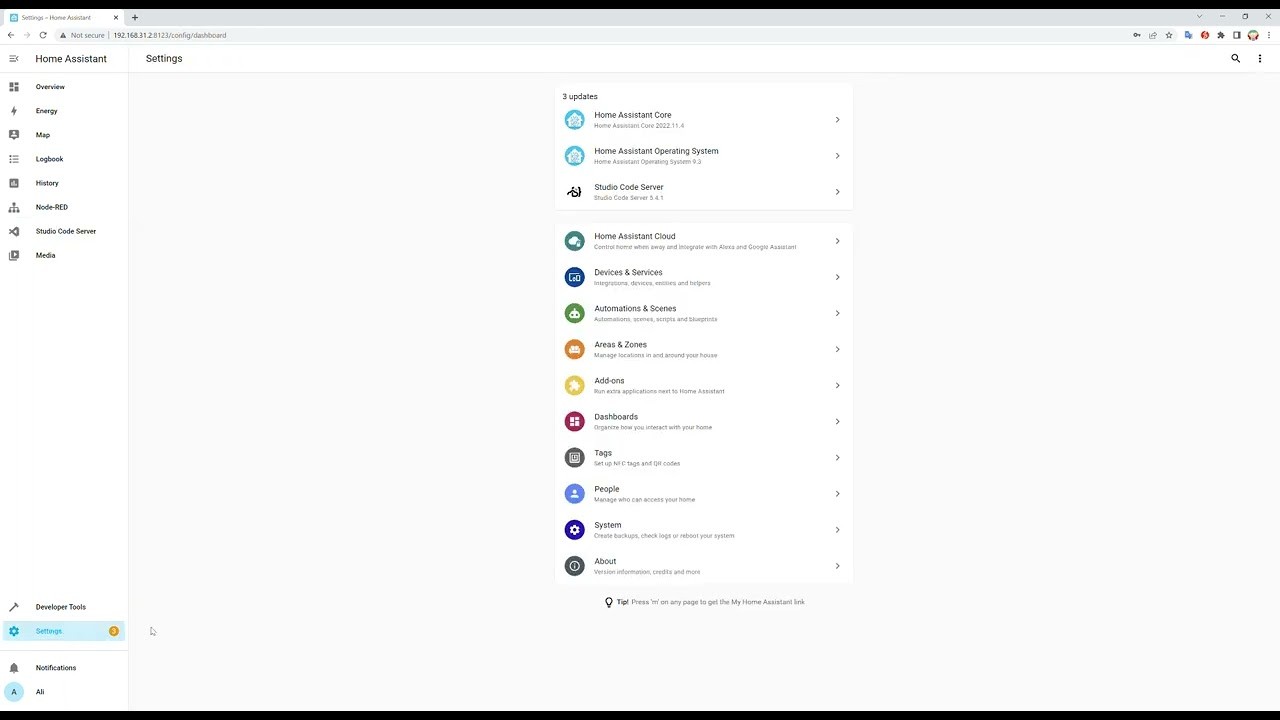
- Install Node-RED Add-on in Home Assistant: Node-RED provides a visual interface to process and utilize the CAN data received via MQTT. Install the Node-RED add-on from the Home Assistant add-on store.
- Import WiCAN Example Flow into Node-RED: Download the “wican_example_flow.json” file (usually available from WiCAN developer resources) and replace the placeholder “device_id” with your specific WiCAN ID. Import this flow into your Node-RED instance.
- Configure MQTT Broker Details in Node-RED: In Node-RED, double-click the “subscription” node within the imported flow. Edit the server settings to include your MQTT broker’s IP address (usually your Home Assistant IP) and the user credentials from step 2.
- Deploy the Node-RED Flow: Click “Deploy” in Node-RED to activate the flow, enabling it to listen for MQTT messages from WiCAN and process CAN data.
- Define MQTT Sensors in Home Assistant Configuration: To display specific CAN data points as sensors in Home Assistant, you need to edit your
configuration.yamlfile. For example, to monitor ambient temperature and fuel level, add the MQTT sensor configurations as shown in the original example, adjustingstate_topicto match your CAN message identifiers (e.g., “CAR1/Amb_Temp”, “CAR1/Fuel_Level”). - Restart Home Assistant and Add Entities to Dashboard: After modifying
configuration.yaml, restart Home Assistant for the changes to take effect. Then, navigate to your Home Assistant dashboard and add new “Entity” cards to visualize the newly created MQTT sensors displaying real-time data from your car’s CAN bus, perfect for your DIY diagnostic projects.
By following these steps, you can effectively set up WiCAN to transmit valuable CAN bus data to Home Assistant, creating a foundation for various car diagnostic projects. This integration allows you to monitor parameters like engine temperature, battery voltage, fuel consumption, and much more, directly within your Home Assistant dashboard. This empowers you to gain deeper insights into your vehicle’s operation and performance, facilitating proactive maintenance and custom automotive automation projects based on real-time CAN bus data.
[