Stripping old paint from your car is a crucial first step in any restoration or repaint project. However, simply removing the old layers isn’t enough to ensure a flawless and long-lasting new paint job. The secret lies in proper surface preparation, often referred to as “keying” the surface. This process creates the ideal foundation for paint adhesion, ensuring your new coat bonds effectively and resists peeling or chipping. This guide, tailored for car enthusiasts and DIYers, will walk you through the essential steps and tools to properly “key” your car’s surface for paint after stripping it down to bare metal or a previous layer.
Whether you’ve used chemical strippers, mechanical methods, media blasting, or even acid dipping to remove the old paint, the subsequent surface preparation is paramount. Let’s delve into the methods and tools that will help you achieve a perfectly keyed surface for your new automotive paint.
Understanding the Importance of Keying for Paint Adhesion
“Keying” in automotive painting refers to creating a slightly roughened surface that allows the primer and paint to grip effectively. Imagine trying to stick tape to a perfectly smooth piece of glass versus a slightly textured surface – it’s the texture that provides the “key” for adhesion. Without proper keying, your new paint job is at risk of failing prematurely, regardless of the quality of paint you use.
Several factors contribute to successful paint adhesion, and keying addresses the mechanical aspect. By creating microscopic peaks and valleys on the surface, you increase the surface area available for the paint to bond to. This mechanical interlocking, combined with chemical bonding between the primer, paint, and substrate, results in a durable and professional finish.
Essential Tools for Keying Your Car for Paint
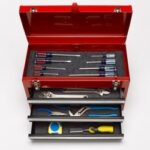
Before diving into the methods, let’s familiarize ourselves with the essential tools you’ll need to “key” your car’s surface after stripping:
- Sandpaper: Various grits, ranging from coarse (80 grit for initial leveling) to fine (320-400 grit for final preparation before primer).
- Sanding Blocks: Provide even pressure and prevent finger marks, ensuring a flat and consistent surface.
- Dual-Action (DA) Sander: A power tool that combines rotary and orbital motion for efficient and even sanding over larger areas.
- Surface Conditioning Discs (Strip-It Discs): Woven abrasive discs that effectively remove remaining paint, rust, and body filler without aggressively removing metal.
- Scuff Pads (Scotch-Brite Pads): Used for scuffing primer and paint layers, creating a key between coats.
- Tack Cloths: Essential for removing dust and debris before applying primer and paint.
- Wax and Grease Remover: Prepares the surface by eliminating contaminants that can hinder paint adhesion.
- Body Filler (if needed): For addressing imperfections and creating a smooth base.
- Epoxy Primer: The foundational layer that provides corrosion protection and further enhances paint adhesion.
Step-by-Step Guide to Keying Your Car Surface
The process of keying your car surface after stripping involves several crucial steps to ensure optimal paint adhesion and a flawless finish.
1. Initial Surface Assessment and Cleaning
After stripping the paint, thoroughly inspect the surface. Look for any remaining paint residue, rust, body filler, or imperfections. Clean the entire area with wax and grease remover to eliminate any contaminants that might interfere with sanding or paint adhesion.
2. Leveling and Shaping with Coarse Sandpaper
If you have areas with body filler, uneven surfaces, or minor rust pitting, start with a coarser grit sandpaper, such as 80 or 120 grit. Use a sanding block or DA sander to level these areas. The goal here is to create a uniformly smooth surface, not necessarily perfectly smooth at this stage.
3. Refining the Surface with Medium Grit Sandpaper
Once the surface is level and shaped, move to a medium grit sandpaper, such as 180 or 220 grit. This step refines the scratches left by the coarser grit and further smooths the surface. Continue using sanding blocks or a DA sander for consistent results.
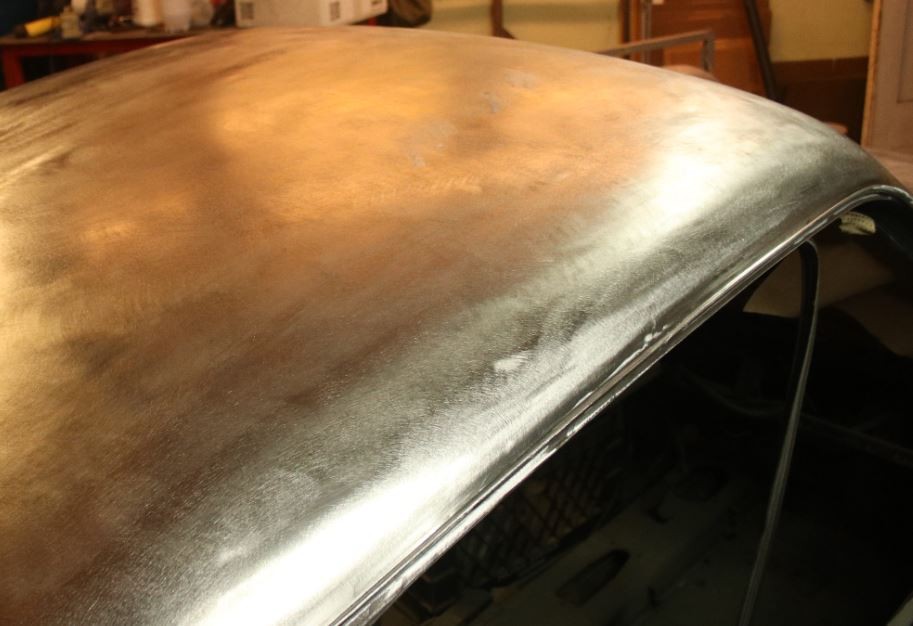
4. Final Surface Preparation with Fine Grit Sandpaper
The final sanding stage before primer involves using a fine grit sandpaper, typically 320 or 400 grit. This creates the ideal “key” for primer adhesion. The surface should feel smooth to the touch but not polished. The microscopic scratches created by this fine grit are perfect for mechanical adhesion.
5. Addressing Hard-to-Reach Areas
For corners, curves, and tight spots where sanding blocks and DA sanders are difficult to maneuver, utilize scuff pads or hand sanding with appropriately sized pieces of sandpaper. Ensure these areas are also properly keyed to match the rest of the surface.
6. Final Cleaning Before Primer
After sanding is complete, meticulously remove all sanding dust. Use compressed air and tack cloths to ensure a completely clean surface. Any dust left behind can contaminate the primer and paint, leading to adhesion issues or imperfections in the finish. Wipe down the surface again with wax and grease remover as a final cleaning step.
7. Applying Epoxy Primer
Epoxy primer is crucial for corrosion protection and provides an excellent base for your top coats. Apply epoxy primer according to the manufacturer’s instructions. Typically, this involves applying 2-3 coats, allowing proper flash time between coats.
8. Scuffing Primer for Top Coat Adhesion
Once the epoxy primer is fully cured, it needs to be scuffed to create a key for the color base coat. Use a fine scuff pad or 400-grit sandpaper to lightly scuff the primer surface. This step is essential to ensure proper adhesion between the primer and the subsequent paint layers.
9. Final Cleaning Before Base Coat
After scuffing the primer, clean the surface once more with tack cloths to remove any scuffing dust. The surface is now perfectly keyed and prepared for the application of your base coat and clear coat.
Choosing the Right Tools for Keying Based on Stripping Method
The tools you use for keying might vary slightly depending on the paint stripping method you initially employed:
- After Chemical Stripping: Chemical stripping often leaves a relatively clean surface but may require more thorough cleaning to neutralize any chemical residue. Sanding is crucial to remove any remaining softened paint and to create a consistent key.
- After Mechanical Stripping (Strip-It Discs, etc.): Mechanical methods can leave a slightly rougher surface. Focus on refining this surface with progressively finer grits of sandpaper to achieve the desired smoothness and key.
- After Media Blasting: Media blasting typically leaves a well-keyed surface. However, it can sometimes be too aggressive, especially with harsher media. Inspect the surface carefully and use finer sandpaper to refine if necessary.
- After Acid Dipping: Acid dipping leaves a very clean surface, often requiring minimal sanding. However, ensure the surface is properly neutralized and cleaned after dipping before proceeding with keying and priming.
Common Mistakes to Avoid When Keying for Paint
- Skipping Sanding Steps: Each grit of sandpaper plays a crucial role. Skipping grits can lead to uneven surfaces and visible scratches in the final finish.
- Using Dull Sandpaper: Dull sandpaper will not effectively key the surface and can lead to burnishing, making paint adhesion worse.
- Not Using Sanding Blocks: Hand sanding alone can create uneven pressure and finger marks. Sanding blocks ensure a flat and consistent surface.
- Contaminating the Surface: Dust, grease, and fingerprints can all compromise paint adhesion. Thorough cleaning at each stage is essential.
- Over-Sanding: While keying requires sanding, over-sanding can remove too much material, especially primer. Scuffing primer should be light and even.
Conclusion: Keying is Key to a Flawless Paint Job
Properly keying your car’s surface after stripping is not just an extra step – it’s the foundation of a durable and stunning paint job. By understanding the importance of surface preparation and utilizing the correct tools and techniques, you can ensure that your new paint adheres flawlessly, providing years of lasting beauty and protection for your vehicle. Remember, the effort you invest in keying the surface will directly translate to the quality and longevity of your final paint finish. Take your time, follow these steps diligently, and enjoy the satisfaction of a professional-grade paint job achieved in your own garage.