Reassembling your car after a fresh paint job is an exciting phase of any restoration project. However, it’s also a nerve-wracking time when the pristine finish is most vulnerable. Scratches, chips, and swirl marks can easily occur if you’re not careful. As experts at carscannertool.store, we understand the importance of preserving your vehicle’s flawless appearance. This guide, inspired by real-world advice from automotive enthusiasts, will equip you with the best strategies and tools to protect your new paint job during reassembly, ensuring your hard work and investment remain immaculate.
Understanding the Challenges of Paint Protection During Reassembly
The reassembly process involves handling various parts, tools, and hardware around your newly painted surfaces. This inevitably increases the risk of accidental damage. Common challenges include:
- Accidental Scratches: Tools slipping, parts brushing against painted panels, and even clothing zippers can cause scratches.
- Dings and Dents: Dropping tools or parts, even from a short distance, can dent or chip fresh paint.
- Swirl Marks: Leaning on or rubbing against painted surfaces, even with seemingly soft materials, can create swirl marks, especially on softer clear coats.
- Chemical Damage: Spills of fluids like brake fluid or coolant can damage or stain new paint if not immediately addressed.
- Adhesive Residue: Using the wrong type of tape for protection can leave behind sticky residue or even damage the paint surface.
Proven Methods to Safeguard Your Car’s New Paint
Drawing from years of experience in auto repair and restoration, and insights from fellow enthusiasts, here are the most effective methods to protect your car’s paint during reassembly:
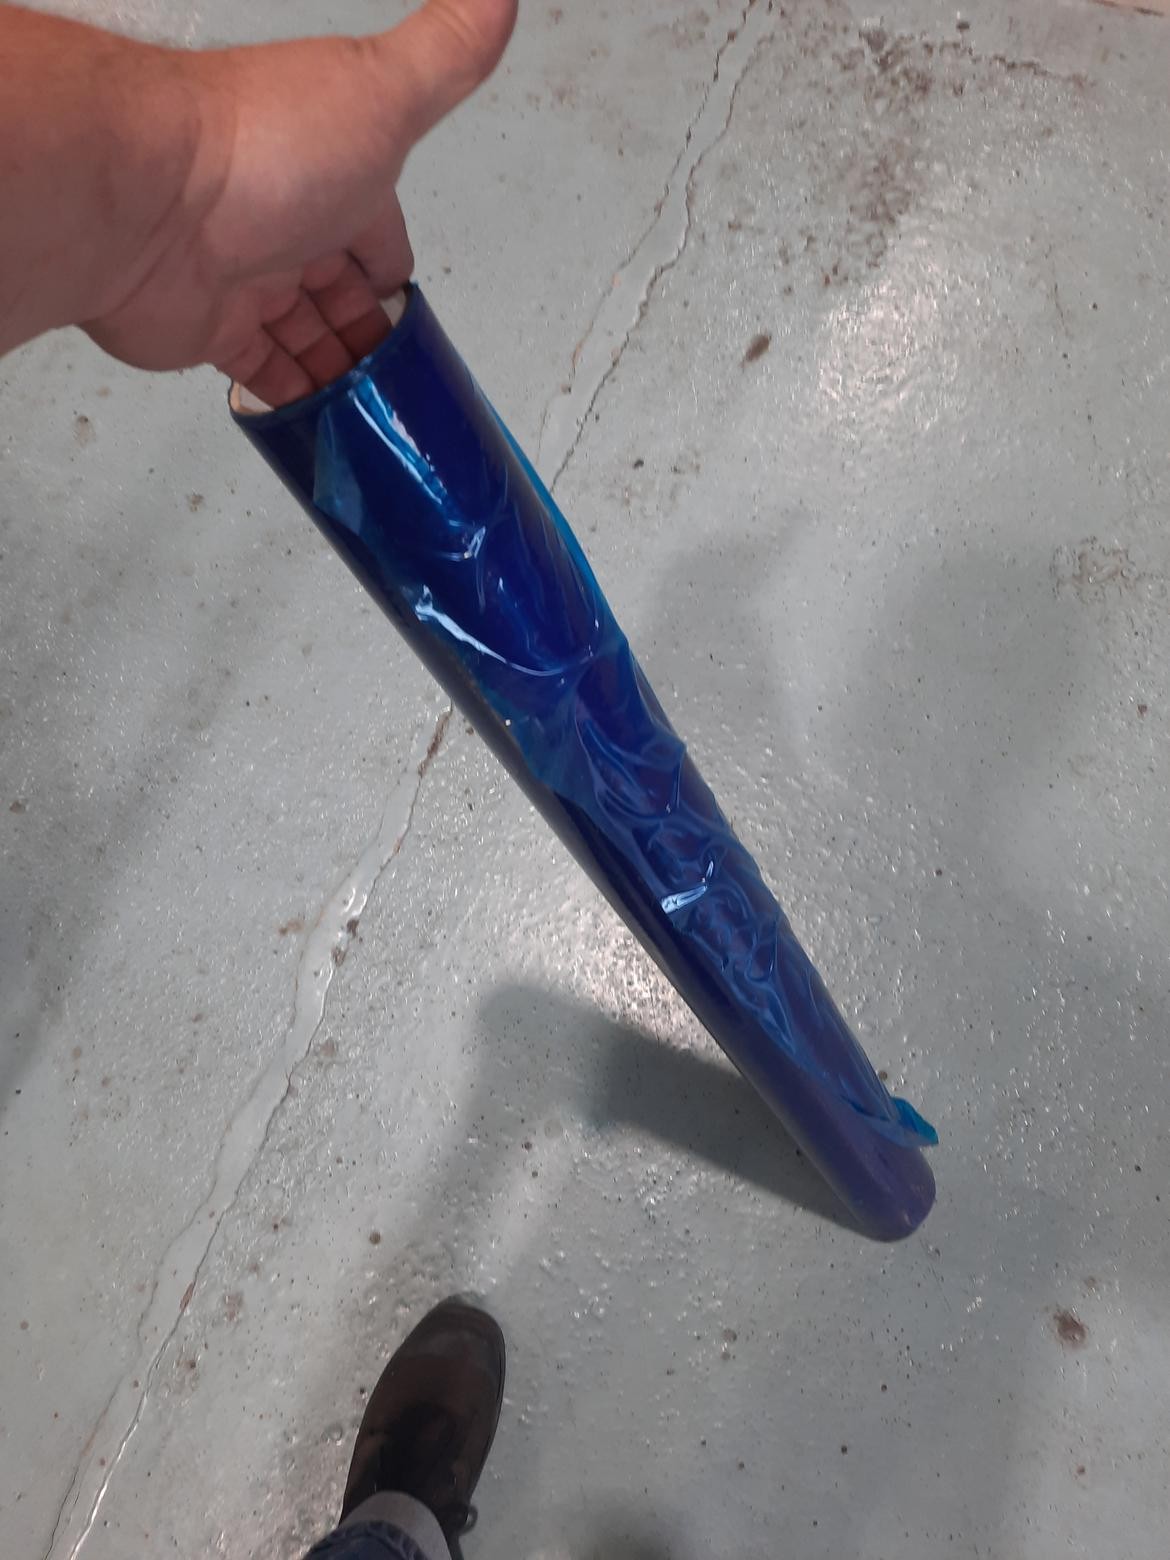
1. Protective Films and Wraps: Creating a Barrier
One of the most recommended solutions is using a temporary protective film. Similar to “crash wrap” mentioned in automotive forums, these films create a physical barrier against scratches and minor impacts.
- Low-Tack Adhesive Films: Opt for films specifically designed for automotive paint. These have a low-tack adhesive that sticks securely but removes cleanly without leaving residue or damaging the paint.
- Application Areas: Apply these films to vulnerable areas like fender tops, door edges, rocker panels, and around the trunk and hood openings – essentially anywhere tools or parts might come into contact with the paint.
- Moldable and Thin: These films are typically thin and moldable, allowing them to conform to curves and edges without hindering reassembly.
2. Strategic Use of Painter’s Tape: Edge Protection and Marking
Painter’s tape can be useful, but caution is advised, especially on fresh paint.
- Edge Protection: Use painter’s tape to protect sharp edges of panels and trim pieces during installation, preventing chips and scratches when maneuvering parts into place.
- Short-Term Use: As advised by experienced restorers, limit blue painter’s tape to short durations (hours, not days) and use high-quality 3M tape to minimize residue risks. Avoid leaving it on for extended periods, especially in direct sunlight or heat.
- Marking and Guidance: Painter’s tape can also be used to temporarily mark alignment points or guidelines on protected areas, aiding in precise parts placement without marking the paint directly.
3. Fender Covers and Moving Blankets: Soft Padding for Broad Protection
For broader protection, especially when working in the engine bay or reaching across panels, fender covers and moving blankets are invaluable.
- Fender Covers: Invest in quality fender covers made from soft, non-abrasive materials. Leather or padded vinyl covers are excellent for protecting large areas of fenders and body panels from scratches and dents while you lean over them.
- Moving Blankets: Drape moving blankets over larger sections of the car, securing them with tape where necessary. These provide a thicker layer of cushioning against accidental bumps and tool drops.
- Placement Strategy: Position fender covers and blankets strategically before starting work in a specific area. Ensure they are securely in place and won’t shift during movement.
4. Tool Protection and Careful Handling: Minimizing Direct Contact
Preventing scratches also involves modifying your tools and techniques:
- Tool Padding: Wrap tool ends and edges with silicone tape or cloth tape to soften potential contact points. This is especially crucial for wrenches, sockets, and screwdrivers that might slip.
- Controlled Movements: Work slowly and deliberately. Avoid rushing, which increases the chance of accidental slips and impacts.
- Clean Work Area: Keep your work area clean and free of debris that could scratch the paint. Use soft cloths to wipe down surfaces and tools regularly.
- Consider “Long Reach” Tools (Implied): While not explicitly about “long reach tools” in the traditional sense, the concept of using tools that minimize direct contact with painted surfaces is key. This could indirectly include tools with extensions or flexible shafts that allow you to reach components without leaning directly onto the car. Think about using magnetic pickup tools or flexible grabbers to retrieve dropped parts from tight spots without risking paint damage.
5. Engine Bay Preparation: Working Smart from the Inside Out
Prepping the engine bay before installing exterior panels is a smart strategy to minimize risks later.
- Wax or Ceramic Coating: Apply a coat of wax or ceramic coating to the engine bay before installing parts. This adds a layer of protection and makes cleaning easier.
- Early Stage Work: Complete as much engine bay assembly as possible before attaching fenders and other easily removable painted panels. This minimizes the chance of scratching exterior paint while working in the engine compartment.
Conclusion: Preserving Your Pristine Paint Job
Protecting a new car paint job during reassembly requires a combination of careful planning, the right protective materials, and mindful work habits. By employing these methods – from protective films and fender covers to tool padding and strategic work sequencing – you can significantly reduce the risk of damage and maintain the flawless finish of your restoration project. Remember, patience and precaution are your best tools in preserving your investment and enjoying the beauty of your newly painted car for years to come.