
Are your little ones obsessed with Disney Pixar Cars? Do you find yourself constantly tripping over Lightning McQueen and Mater scattered around the house? If so, you’re in the right place! As fans of both organization and the wonderful world of Cars, we’ve crafted the perfect solution: a DIY Disney Pixar Cars Toolbox Toy Box! This fun and functional project is not only a great way to keep those beloved Cars toys neatly stored, but it also adds a touch of creative flair to your child’s play area. Inspired by the classic metal toolbox, this DIY project is surprisingly simple to make and promises to be a hit with your Cars-loving kids. Let’s dive into how you can create this adorable and practical Disney Pixar Cars Tool Box!
What You’ll Need to Build Your Disney Pixar Cars Tool Box:
To get started on your Disney Pixar Cars tool box, gather these easy-to-find materials:
- Two Wooden Boxes: Choose two craft boxes of different sizes. The larger box will serve as the base, and the smaller one will be the top tier of your toolbox.
- Thin Balsa Wood Sticks: You’ll need a couple of thin balsa wood sticks (around 1/4″x 1/8″ by 24″) to create the decorative silver stripes that mimic a real toolbox.
- Acrylic Paints: Red, silver metallic, and black acrylic paints are essential to achieve the classic toolbox look and Cars theme.
- Quick Hold Craft Glue: A reliable craft glue to securely assemble the wooden pieces and handle.
- Paint Brushes: Assorted paint brushes for applying paint to the boxes and balsa wood.
- Painter’s Tape or Washi Tape: This tape is crucial for creating clean lines when painting the black “drawer” details.
- Metal Handle: Find a small metal handle at your local hardware or craft store to add an authentic toolbox touch.
Step-by-Step Guide to Creating Your DIY Disney Pixar Cars Tool Box:
Follow these simple steps to transform ordinary wooden boxes into a fantastic Disney Pixar Cars tool box:
- Paint the Wooden Boxes Red: Begin by painting both wooden craft boxes with red acrylic paint. Apply multiple thin coats for the best coverage, ensuring each coat is completely dry before applying the next. Allow the red paint to fully cure for a smooth finish before moving on.
- Prepare and Paint Silver Stripes: Measure and cut balsa wood sticks. You’ll need two pieces cut to the length of the larger box and one for the smaller box. Paint these balsa wood pieces with metallic silver acrylic paint and let them dry completely. These silver strips will give the toolbox its distinctive look.
- Create Faux Drawers with Black Paint: Once the red paint is dry, use painter’s tape or washi tape to mark off rectangular sections on the front of both the larger and smaller boxes. These taped areas will become the “drawers” of your toolbox. Paint within the taped sections with black acrylic paint. Again, multiple thin coats may be needed for solid black coverage. Remove the tape once the black paint is dry to reveal crisp, clean lines.
- Add Silver Drawer Accents: Glue the silver painted balsa wood sticks just above the black painted “drawer” areas on both boxes. This creates the illusion of drawers with metallic trim, enhancing the toolbox aesthetic. Use quick hold craft glue to ensure the silver strips adhere firmly.
- Assemble the Toolbox and Add Handle: Center and glue the smaller red box on top of the larger red box using craft glue. Allow the glue to dry and set. Next, attach the metal handle to the top of the smaller box. You can glue it in place or use small screws if the handle allows. If using screws, ensure they are appropriate for the wood thickness. Touch up any screw holes or glue marks with black paint for a seamless finish. Consider painting the clasp of the smaller box silver to match the balsa wood accents for a cohesive look.
- Drying and Curing Time: Allow the completed Disney Pixar Cars tool box to dry and cure for at least 24 hours before use. This ensures all the glue and paint are fully set, making the toy box durable for playtime.
Organizing Your Disney Pixar Cars Toys:
The beauty of this Disney Pixar Cars tool box lies in its functionality. The two-tiered design provides excellent organization for different types of toys. The larger bottom box is perfect for storing larger items like playset pieces, tracks, or even bigger Cars vehicles. The smaller top box is ideal for keeping smaller cars, figurines, and accessories neatly separated and easily accessible.
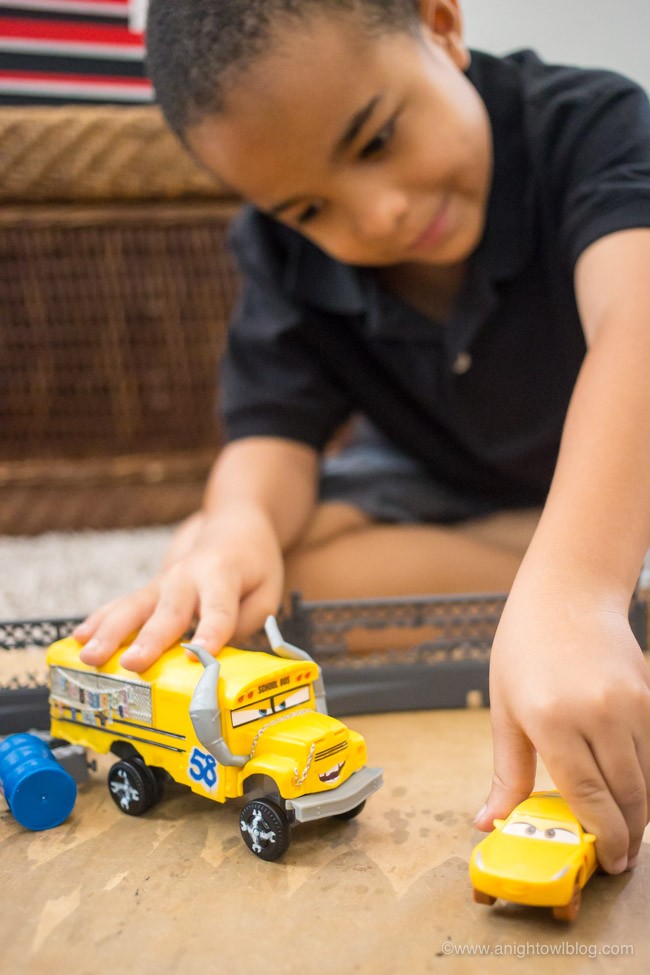
For example, if you have the Disney Pixar Cars 3 Crazy 8 Crashers Smash & Crash Derby Playset, the larger bottom compartment of the toolbox can comfortably hold the track pieces and accessories, while the top compartment can house Miss Fritter, Lightning McQueen, Cruz Ramirez, and the rest of your Cars collection.
Unleash the Fun with Organized Playtime:
Once your Disney Pixar Cars tool box is complete and filled with toys, get ready for hours of organized fun! Encourage your children to help pack away their Cars toys after playtime, teaching them the importance of tidiness while making it an enjoyable part of their play routine. The Disney Pixar Cars tool box not only serves as practical storage but also becomes a part of their imaginative play, enhancing their Cars world.
Ready to Create Your Own Disney Pixar Cars Tool Box?
This DIY Disney Pixar Cars tool box is a fantastic project for any parent looking to combine creativity with organization. It’s a fun craft to make, a practical storage solution, and a delightful addition to any Disney Pixar Cars enthusiast’s collection. Gather your supplies, follow the steps, and get ready to rev up playtime with a beautifully organized and themed toy box!
Don’t forget to explore Amazon, the Ultimate Pit Stop for Disney Pixar Cars 3 merchandise to fill your new Disney Pixar Cars tool box with even more exciting Cars toys and playsets!